
Picture this: You’re ready to park your car after a long day, but your Liftmaster garage door opener suddenly stops working. Frustrating, right?
If you’ve ever encountered the dreaded “11 flashes” error code, you’re not alone. This mysterious code can leave you puzzled and wondering what went wrong. But don’t worry—you’re in the right place to find answers. In this guide, we’ll unravel the mystery behind Liftmaster error codes, specifically focusing on those pesky 11 flashes.
You’ll discover what this code means, why it happens, and most importantly, how you can fix it quickly and easily. So, if you’re eager to get your garage door back on track, keep reading. We’ve got the insights you need to tackle this issue head-on.

Credit: www.reddit.com
Common Causes Of Error Code 11
Liftmaster garage door openers are widely appreciated for their reliability, but sometimes you might encounter error codes that disrupt their operation. Error Code 11, indicated by 11 flashes, is particularly common. Understanding the causes behind this error can help you tackle the issue swiftly and efficiently. Let’s dive into some common reasons why Error Code 11 might be flashing on your Liftmaster opener.
Sensor Malfunction
One of the most frequent culprits behind Error Code 11 is a malfunctioning sensor. Sensors play a critical role in ensuring your garage door opens and closes safely. If they are dirty, misaligned, or damaged, it might trigger the error code. I once had a similar issue at home. A quick clean and adjustment fixed it instantly. Have you checked your sensors lately?
Obstruction In Path
Another cause could be an obstruction in the path of the garage door. Even a small object can prevent the door from closing properly, leading to Error Code 11. Make sure the area around the door is clear. I remember a time when a forgotten garden tool was the culprit. Keep your garage tidy to avoid such simple yet frustrating problems.
Wiring Issues
Wiring problems are less visible but equally impactful. Loose or damaged wires can disrupt the connection between components, causing the error code. If you’ve recently had any work done in your garage, double-check the wiring. It’s amazing how a slight tweak can restore your system’s functionality. Have you noticed any frayed wires recently?
By understanding these common causes, you can take proactive steps to resolve Error Code 11 and ensure your Liftmaster opener operates smoothly. Regular maintenance might save you time and hassle in the future. What’s your go-to strategy for dealing with garage door issues?

Credit: www.highliftdoor.com
Identifying The Error
Experiencing Liftmaster error codes with 11 flashes? This indicates an issue with the safety sensor alignment. Ensure sensors are clean and properly aligned to resolve this common garage door problem.
Identifying the error in your Liftmaster system can seem daunting at first, but understanding what those 11 flashes mean is crucial. This error code is your system’s way of communicating a specific issue. By learning to decode these signals, you can save time and avoid unnecessary stress.Visual Indicators
The 11 flashes on your Liftmaster opener serve as a clear visual indicator that something’s amiss. Each flash sequence corresponds to a particular problem, acting like a Morse code for your garage door. When you notice these flashes, it’s your system’s SOS signal. Have you ever ignored a blinking light on your car dashboard, only to regret it later? Similarly, ignoring these flashes can lead to bigger issues. Pay close attention to the flash pattern and count them accurately. A simple miscount could lead you down the wrong troubleshooting path.Diagnostic Tools
Once you’ve identified the 11 flashes, it’s time to use diagnostic tools to delve deeper. Many Liftmaster models come with built-in diagnostic capabilities. Check your manual for guidance on accessing these features. Using diagnostic tools can feel like having a mechanic at your fingertips. These tools will help you pinpoint the exact nature of the problem. It might be a sensor alignment issue or something more complex. Have you ever wished you could fix something without calling a professional? With the right tools, that’s possible. Remember to always follow the safety instructions provided in your manual. Could there be a better feeling than solving a problem on your own?Step-by-step Troubleshooting
Dealing with Liftmaster error codes can be daunting, especially when you see 11 flashes. This code often points to a sensor issue that needs immediate attention. Before you call for professional help, try these step-by-step troubleshooting tips. They might save you time and money, and give you a sense of accomplishment.
Inspecting Sensors
Start by checking the sensors on either side of your garage door. These are usually located near the floor. Are they aligned properly? A small misalignment can cause big problems. Make sure they’re facing each other directly.
Ensure the sensors are clean. Dust or spider webs can obstruct the sensor’s view. Use a soft cloth to wipe them clean. Is the LED light on the sensors steady? A blinking light could indicate a problem.
Clearing Obstructions
Next, look for any obstructions in the garage door’s path. Even small objects can trigger the error code. Clear away any debris, toys, or tools that might be in the way.
Check the tracks for any blockages. Sometimes, you might find leaves or dirt that have accumulated. Give them a good clean. Are you surprised how much can accumulate over time?
Checking Connections
Finally, inspect the wiring connections. A loose wire can lead to faulty signals. Ensure all wires are securely connected and free from damage.
Look at the power source. Is everything plugged in properly? A simple unplugged cord could be the culprit. Is the circuit breaker working correctly?
Have you tried these steps and still see the error code? Sometimes, a fresh perspective can help. Ask a friend to double-check or refer to the Liftmaster manual for further guidance. Fixing it yourself can be rewarding, but remember, professional help is always available if needed.
Preventive Measures
Experiencing Liftmaster error codes can be frustrating. Error 11 flashes often indicate a problem. Taking preventive measures can help avoid these issues. Regular checks and correct installation are essential. These steps ensure your garage door opener works smoothly.
Regular Maintenance
Performing regular maintenance is crucial. Dust and debris can cause problems. Clean the sensors and tracks frequently. This reduces the risk of errors. Lubricate moving parts to prevent wear and tear. Use the right lubricant for best results.
Check the alignment of the sensors. Misaligned sensors can trigger error codes. Adjust them to face each other directly. Tighten any loose screws or brackets. This keeps the system stable.
Proper Installation
Proper installation prevents many issues. Ensure the opener is installed correctly. Follow the manufacturer’s guidelines closely. Incorrect installation can lead to frequent errors. Secure the wiring and connections firmly.
Check the power source for stability. Fluctuations can cause malfunctions. Use a dedicated circuit for the opener. This prevents electrical issues. Make sure the opener is compatible with your door type. Mismatched systems often lead to errors.
When To Seek Professional Help
Experiencing Liftmaster error codes with 11 flashes can be confusing. Seek professional help if simple troubleshooting fails. This ensures safety and proper repair of your garage door system.
Experiencing Liftmaster Error Codes with 11 flashes can be frustrating. Understanding when to call a professional is crucial. This ensures your garage door operates smoothly and safely. Not every issue needs a professional. But some situations require expert attention.Persistent Issues
Sometimes, the error code keeps returning. This might mean a deeper problem. Temporary fixes won’t solve it. Professional technicians can identify root causes. They have the tools and experience. They ensure a long-term solution. Avoid repeated frustration with expert help.Complex Repairs
Certain repairs are too complex for amateurs. Handling these without expertise can be risky. Professionals know the intricate systems of garage doors. They ensure each component works correctly. Attempting complex repairs alone can lead to further damage. It may also void warranties. Skilled technicians provide peace of mind. They ensure safety and functionality. `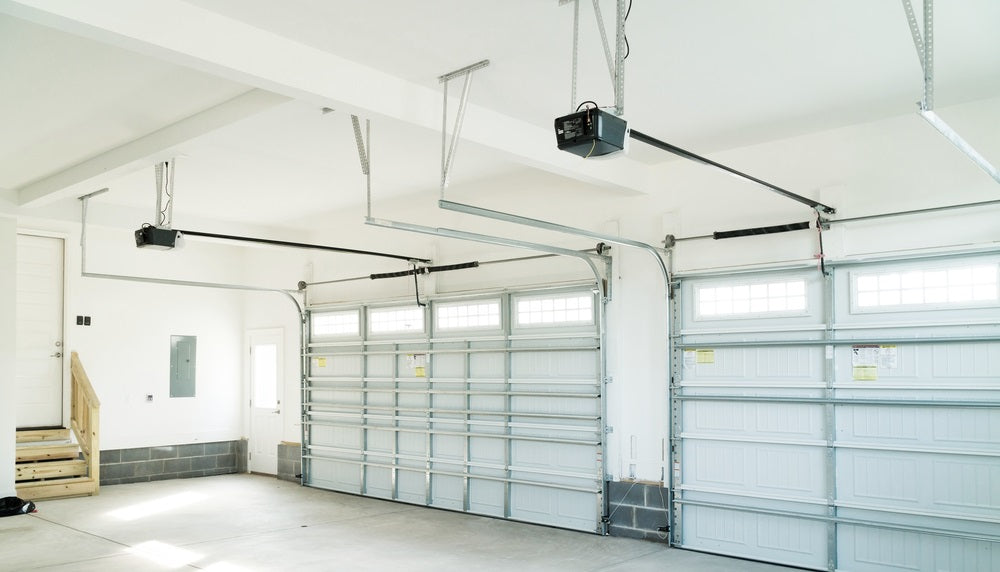
Credit: allsecurityequipment.com
Additional Resources
Discover solutions for Liftmaster error codes with 11 flashes in our guide. Find troubleshooting tips and essential resources. Enhance your understanding with straightforward explanations.
When dealing with Liftmaster Error Codes, particularly the 11 flashes, it’s crucial to have access to additional resources. These resources can save you time and frustration. They provide valuable insights and solutions, ensuring your garage door system runs smoothly. Let’s delve into some practical resources that can help you troubleshoot and resolve this error effectively.User Manual
Start with your user manual. It’s an underrated but essential tool. Have you ever tried finding the solution to a problem without reading the manual first? The user manual contains specific troubleshooting steps tailored for your Liftmaster model. Often, it includes a section dedicated to error codes, explaining what each flash sequence means. This could potentially save you hours of guessing. Consider marking important pages for quick reference. If you’re like many users, the manual might be tucked away in a drawer. Dig it out, and keep it handy. If you misplaced yours, don’t worry. Most manufacturers provide digital copies on their websites for easy download.Customer Support
Sometimes, the user manual isn’t enough. That’s where customer support comes into play. Have you ever called a support line and felt like the representative just read from a script? With Liftmaster, you’ll find their support team is knowledgeable and helpful. Reach out via their website or phone. Explain the error code and any symptoms you observe. Often, they can guide you through a step-by-step process to resolve the issue. Additionally, customer support might have updates or technical bulletins not yet included in the manual. Remember, you’re not alone in facing these technical hiccups. Thousands of users encounter similar issues. By using these resources, you not only solve the problem but also gain confidence in handling future errors.Frequently Asked Questions
What Does 11 Flashes On Liftmaster Mean?
11 flashes indicate a sensor issue. Sensors might be misaligned or blocked by an object.
How Do I Fix The 11 Flash Error Code?
Check sensor alignment. Ensure nothing blocks the path. Clean sensors gently to fix the error.
Why Are My Liftmaster Sensors Flashing?
Flashing sensors often mean obstruction or misalignment. Check for dirt or objects blocking their path.
Can A Power Surge Cause 11 Flashes?
Yes, power surges may cause system malfunctions. Reset the system to resolve issues from power surges.
Is Sensor Replacement Necessary For 11 Flashes?
Not always. First, check alignment and cleanliness. Replace sensors only if the problem persists.
Conclusion
Facing Liftmaster error codes like 11 flashes can be frustrating. Understanding these codes helps in quick troubleshooting. Keep your manual handy for easy reference. Regular maintenance prevents many issues. Check connections and sensors regularly. Simple fixes can often resolve the problem.
Avoid costly repairs by staying informed. Remember, safety is always a priority. Disconnect power before attempting fixes. Consult a professional if needed. Your Liftmaster should operate smoothly with proper care. Stay proactive and enjoy hassle-free garage door operations.