
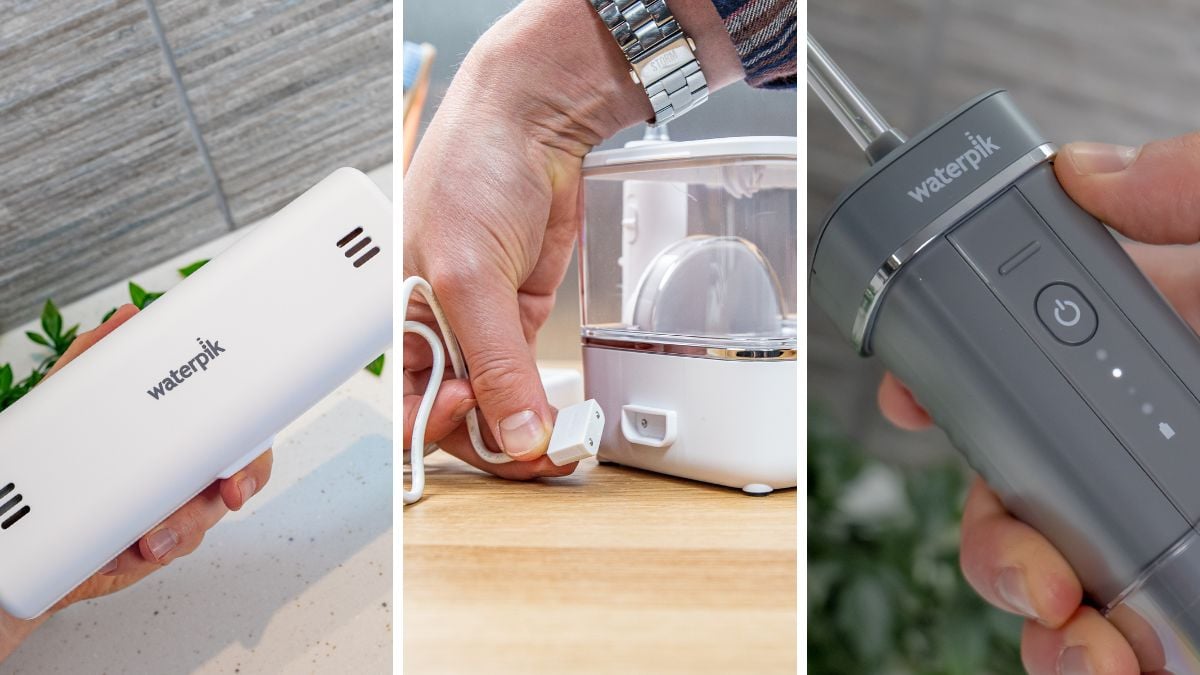
If your Waterpik is not working, check the power source and clean the unit. Ensure the water reservoir is properly attached.
Waterpik water flossers are essential for maintaining oral hygiene. They help remove plaque and improve gum health. Troubleshooting your Waterpik is straightforward with some basic checks. Start by ensuring the device is plugged in correctly. Examine the reservoir to see if it’s securely attached.
Cleaning the unit periodically prevents clogs and ensures efficient operation. Check for any visible damage to the device or its components. Using the right water temperature can also enhance performance. Regular maintenance extends the lifespan of your Waterpik. If issues persist, consult the user manual for specific troubleshooting steps. Keeping your Waterpik in top shape ensures a healthier smile.
Credit: www.electricteeth.com
Introduction To Waterpik Usage
Contents
- 1 Introduction To Waterpik Usage
- 2 Common Waterpik Issues
- 3 Quick Fixes For Low Pressure
- 4 Handling Leaks And Drips
- 5 Power And Charging Difficulties
- 6 Waterpik Maintenance Tips
- 7 When To Seek Professional Help
- 8 Preventive Measures For Longevity
- 9 Conclusion: Ensuring Optimal Performance
- 10 Frequently Asked Questions
- 11 Conclusion
Waterpik is a popular dental tool. It helps keep your teeth clean. Using it daily can improve oral health. This section will guide you through its usage and importance.
The Popularity Of Waterpik
The Waterpik is loved by many people. Dentists recommend it for oral hygiene. It is easy to use and effective. People with braces find it very helpful. It reaches places that toothbrushes can’t.
- Removes plaque
- Reduces gum disease
- Easy to use
Why Troubleshooting Is Important
Troubleshooting your Waterpik is crucial. It ensures the device works well. Regular checks prevent bigger problems. A well-maintained Waterpik lasts longer.
| Issue | Solution |
|---|---|
| Low Pressure | Check the water reservoir |
| No Power | Ensure it’s plugged in |
| Leaking | Inspect the hose and tip |
Follow these steps to keep your Waterpik in top shape:
- Clean the tips regularly
- Replace parts as needed
- Check for clogs in the reservoir
Keeping your Waterpik in good condition is easy. Just follow these simple steps.
Common Waterpik Issues
Many people love using their Waterpik for oral care. But sometimes, it can have problems. Let’s talk about common Waterpik issues and how to fix them.
Low Pressure Problems
Low pressure in your Waterpik can be frustrating. Here are some common causes and solutions:
- Clogged Nozzle: Clean the nozzle with a pin.
- Low Water Level: Fill the water reservoir completely.
- Mode Setting: Ensure it’s set to the right mode.
- Water Filter: Check and clean the water filter.
Always clean your Waterpik parts to prevent low pressure problems.
Leaks And Drips
Leaks can waste water and lower the effectiveness of your Waterpik. Here are some tips to address leaks and drips:
- Loose Connections: Tighten all connections.
- Damaged O-Rings: Inspect and replace any damaged O-rings.
- Cracked Reservoir: Check for cracks and replace if needed.
- Worn-Out Hose: Replace the hose if it’s old or damaged.
Regularly inspect your Waterpik to catch leaks early.
| Issue | Solution |
|---|---|
| Low Pressure | Clean nozzle, check water level, set correct mode, clean filter |
| Leaks | Tighten connections, replace O-rings, inspect reservoir, replace hose |
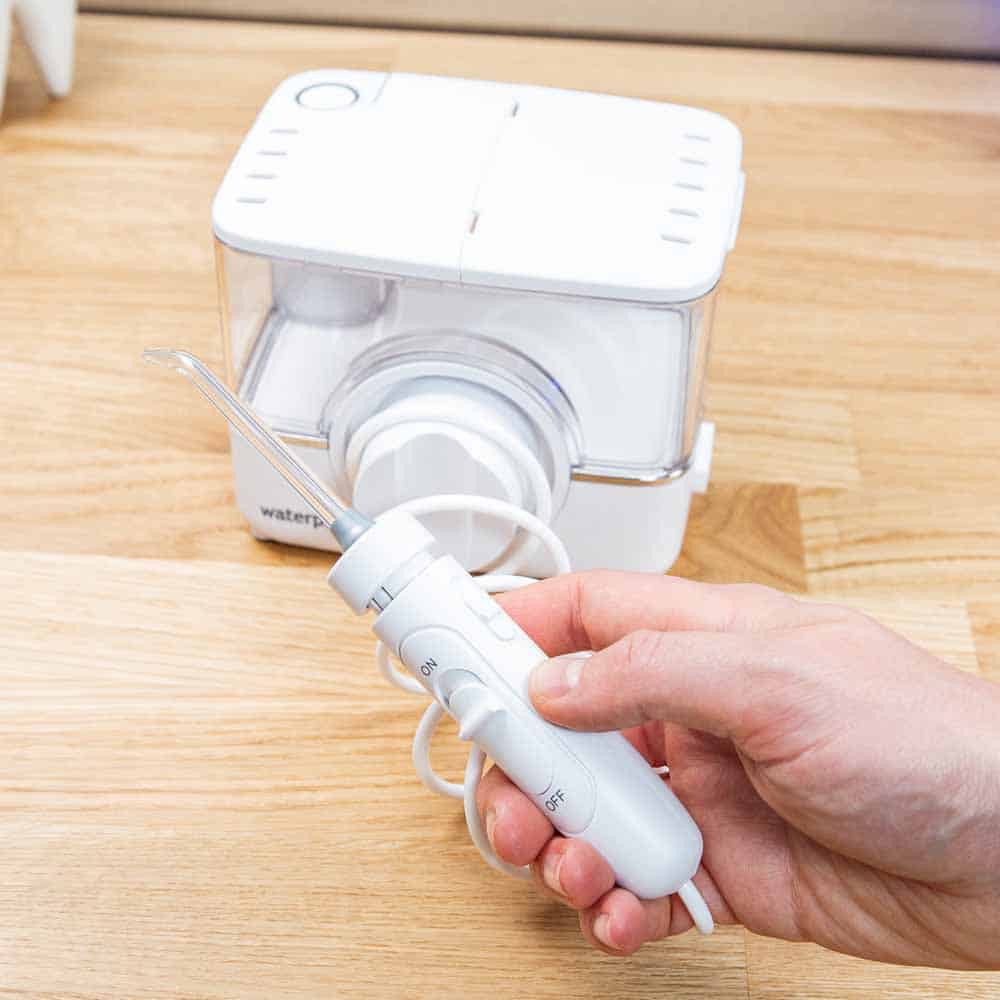
Quick Fixes For Low Pressure
Experiencing low pressure with your Waterpik can be frustrating. There are several quick fixes to help restore optimal performance. Here are some easy steps to troubleshoot low pressure issues.
Checking The Water Source
First, ensure the water source is functioning properly. Verify that the faucet is fully turned on. A partially closed faucet can reduce water flow. Check for any kinks or blockages in the hose.
Next, inspect the water inlet. Ensure it is not clogged. Use a brush to clean it if necessary. Also, check the water filter. A dirty filter can restrict water flow. Clean or replace it as needed.
Cleaning The Nozzles
Nozzles can become clogged with debris or mineral deposits. Regular cleaning is essential. Remove the nozzle from the unit. Soak it in a solution of vinegar and water for 5-10 minutes.
Use a small brush to scrub away any residue. Rinse the nozzle thoroughly with water. Reattach it to the Waterpik and test the pressure again.
For stubborn clogs, use a needle to clear the nozzle openings. Be gentle to avoid damaging the nozzle. Regular cleaning can prevent future clogs and maintain optimal performance.
| Issue | Quick Fix |
|---|---|
| Low Water Pressure | Check water source and clean nozzles |
| Clogged Nozzles | Soak in vinegar solution and scrub |
| Dirty Water Filter | Clean or replace filter |
Credit: www.waterpik.com
Handling Leaks And Drips
Experiencing leaks and drips with your Waterpik can be frustrating. This guide will help you fix these issues quickly. Follow these steps to get your Waterpik working perfectly again.
Tightening Connections
Loose connections often cause leaks in a Waterpik. Check all the connections and tighten them. Make sure the water reservoir is securely attached. Also, ensure the hose is connected properly to the unit.
- Inspect the water reservoir connection
- Ensure the hose is connected correctly
- Check the nozzle attachment
Use a soft cloth to grip and tighten the connections. This will prevent slipping and ensure a snug fit. If the leak persists, move on to the next step.
Replacing Damaged Parts
Damaged parts can cause leaks. Check for cracks or wear in the hose and nozzle. Replace any damaged parts with new ones.
| Part | Signs of Damage | Action |
|---|---|---|
| Hose | Cracks or splits | Replace |
| Nozzle | Wear and tear | Replace |
| O-rings | Stretching or hardening | Replace |
Order replacement parts from the Waterpik website or a trusted retailer. Follow the instructions in the user manual to replace parts safely.
By following these steps, you can handle leaks and drips effectively. Enjoy a smooth and efficient Waterpik experience.
Power And Charging Difficulties
Experiencing power and charging issues with your Waterpik can be frustrating. Ensuring your device is always ready for use is crucial. This section addresses common power and charging problems. Follow these steps to troubleshoot and maintain your Waterpik efficiently.
Troubleshooting The Charger
First, check if the charger is properly connected. Make sure it is plugged into a functioning power outlet. Inspect the charger for any visible damage. A damaged charger might not work correctly.
Try using a different power outlet. Sometimes, the issue lies with the outlet itself. If you have another charger, use it to see if the problem persists.
Use a multimeter to check the charger’s output. It should match the voltage specified in the manual. If it doesn’t, you might need a replacement charger.
Battery Maintenance Tips
Proper battery maintenance ensures your Waterpik lasts longer. Here are some tips:
- Charge the device fully before first use.
- Avoid overcharging. Unplug once fully charged.
- Store in a cool, dry place when not in use.
Occasionally, let the battery run down completely. This helps maintain battery health. Clean the charging contacts regularly. Dust or debris can hinder charging efficiency.
If your Waterpik uses replaceable batteries, ensure they are of high quality. Low-quality batteries may not last as long and can cause issues.
| Step | Action |
|---|---|
| 1 | Check charger and outlet |
| 2 | Inspect for damage |
| 3 | Use multimeter for voltage check |
| 4 | Charge fully before first use |
| 5 | Avoid overcharging |
Waterpik Maintenance Tips
Maintaining your Waterpik ensures it works well and lasts long. Follow these maintenance tips to keep your Waterpik in top condition.
Regular Cleaning Routines
Regular cleaning prevents build-up and keeps your Waterpik working efficiently. Follow these simple steps:
- Empty the water reservoir after each use.
- Rinse the reservoir with warm water.
- Once a week, fill the reservoir with a mixture of water and white vinegar (1:1 ratio).
- Run the unit until the reservoir is empty.
- Rinse the reservoir thoroughly with warm water.
These steps help prevent mold and bacteria growth. Clean the tip separately using warm water and vinegar. Replace tips every 3-6 months for optimal performance.
Avoiding Common Mistakes
Avoid common mistakes to keep your Waterpik in good shape:
- Do not use hot water: Hot water can damage the unit.
- Avoid using harsh chemicals: Stick to white vinegar for cleaning.
- Do not overfill the reservoir: Overfilling can cause leaks.
- Unplug the unit after use: This prevents electrical issues.
By following these tips, your Waterpik will stay in excellent condition. Regular maintenance ensures effective and safe use of your device.
When To Seek Professional Help
Waterpik devices offer great benefits for oral hygiene. Yet, issues can arise. Knowing when to seek professional help ensures your device performs well and lasts longer.
Identifying Serious Malfunctions
Not all issues can be fixed at home. Some signs indicate serious malfunctions. Here are some key symptoms:
- No Power: The device does not turn on even after charging or plugging in.
- Low Water Pressure: Water flow is weak despite full settings.
- Unusual Sounds: Strange noises come from the motor or pump.
- Water Leaks: Water leaks from the handle or base.
If you notice these signs, consider seeking professional help. Ignoring serious issues can lead to permanent damage.
Contacting Customer Support
Reaching out to customer support can save you time and effort. Here’s how to contact Waterpik customer support:
- Locate the customer support number in your user manual or online.
- Prepare your product details: model number, purchase date, and issue description.
- Call or email the customer support team and explain your problem.
Be ready to provide photos or videos if asked. This helps support staff diagnose issues quickly.
Professional help ensures your Waterpik remains in top condition. Don’t hesitate to contact support for serious issues.
Credit: www.electricteeth.com
Preventive Measures For Longevity
Keeping your Waterpik in top shape helps it last longer. Follow these preventive measures for optimal performance.
Proper Storage Practices
Store your Waterpik in a dry and cool place. Avoid damp areas as moisture can damage it. Use a protective case if available. This keeps it safe from dust and debris.
- Unplug the device after use.
- Ensure all parts are dry before storing.
- Keep it away from children and pets.
Periodic Check-ups
Regular checks ensure your Waterpik works well. Inspect the unit for any visible damage. Look at the hose, tips, and reservoir.
- Check the power cord for any frays.
- Ensure the tips are clean and not clogged.
- Inspect the hose for any leaks.
Clean the reservoir weekly with warm soapy water. This prevents mold and bacteria build-up.
| Check-Up Task | Frequency |
|---|---|
| Inspect power cord | Monthly |
| Clean tips | Weekly |
| Check hose | Monthly |
| Clean reservoir | Weekly |
Conclusion: Ensuring Optimal Performance
Ensuring your Waterpik works well is important for dental health. Troubleshooting helps fix common issues. Regular care keeps the device running smoothly. Let’s recap the key troubleshooting tips and the importance of regular care.
Recap Of Troubleshooting Tips
- Check power supply: Ensure the device is plugged in correctly.
- Inspect the water reservoir: Ensure it is filled properly.
- Clean the tip: Remove any debris blocking the tip.
- Examine hoses and connections: Look for any leaks or loose connections.
- Reset the device: Unplug and re-plug to reset.
The Importance Of Regular Care
Regular care of your Waterpik ensures it works well for a long time. Here are key care tips:
- Clean the water reservoir: Wash it with warm, soapy water weekly.
- Descale the device: Use vinegar to remove mineral deposits monthly.
- Replace the tips: Change tips every 3-6 months for best performance.
- Store properly: Keep the device in a dry place after use.
By following these tips, you ensure your Waterpik performs well. Regular maintenance extends its lifespan. This keeps your dental health in check.
Frequently Asked Questions
How To Fix A Waterpik That Won’t Turn On?
Check the power cord and outlet. Ensure the unit is properly plugged in.
Why Is My Waterpik Leaking Water?
Inspect the reservoir and hose for cracks. Ensure all connections are tight.
How Do I Clean A Clogged Waterpik Nozzle?
Soak the nozzle in vinegar for 5-10 minutes. Rinse thoroughly with warm water.
Why Is My Waterpik Losing Pressure?
Check for blockages in the hose or nozzle. Clean or replace as needed.
Can I Use Tap Water In My Waterpik?
Yes, but using filtered or distilled water can prevent mineral buildup.
Conclusion
Ensuring your Waterpik works smoothly is essential for optimal oral health. Address issues promptly with our troubleshooting tips. Regular maintenance can prevent most common problems. Stay proactive and enjoy a hassle-free experience. For more tips and guides, explore our other blog posts.
Your oral hygiene matters.