
Is your washing machine shaking, banging, or suddenly stopping mid-cycle? These are clear signs your washer is unbalanced.
When your washing machine is off balance, it doesn’t just make noise—it can damage the machine and ruin your clothes. But don’t worry, you’re not stuck with a noisy, unstable washer. You’ll discover simple, effective ways to fix an unbalanced washing machine.
From how to load your laundry properly to leveling your machine, you’ll learn exactly what to do to keep your washer running smoothly and quietly. Keep reading, and say goodbye to those frustrating washer problems for good!

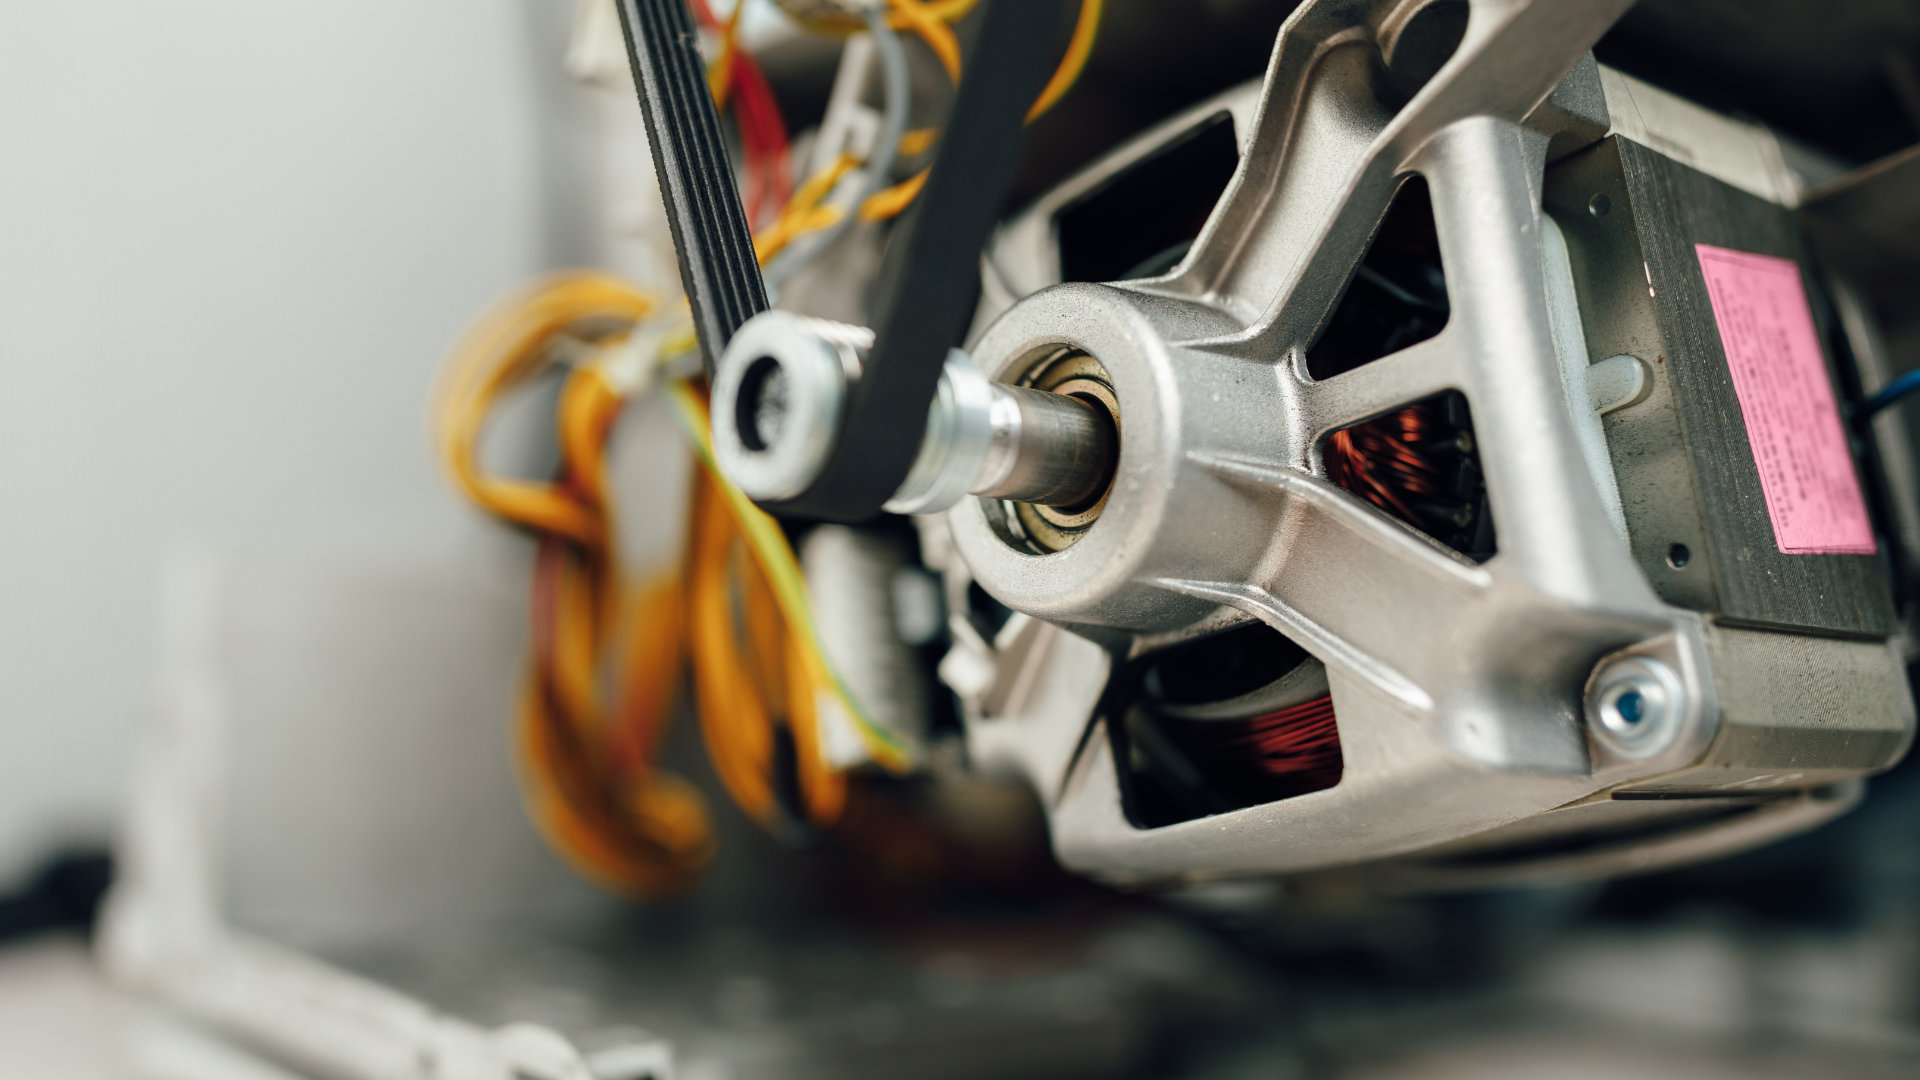
Credit: www.partselect.com
Load Distribution
Proper load distribution plays a key role in preventing your washing machine from becoming unbalanced. Uneven weight inside the drum causes shaking and noise during the spin cycle. Spreading clothes evenly helps the machine maintain stability and operate smoothly.
Understanding how to arrange different types of laundry can reduce tangling and improve washing results. Bulky items require special care to avoid upsetting the machine’s balance. Simple steps in load distribution save time and protect your washer.
Mixing Load Types
Mixing heavy and light clothes evens out the load. Avoid washing only heavy or only light items together. For example, combine towels with shirts or jeans with T-shirts. This balance helps the drum spin evenly and reduces vibrations.
Preventing Tangling
Tangled clothes can clump on one side of the drum. This causes uneven weight and shaking. Separate long items like sheets and pants before washing. Using laundry bags for delicate or small items also stops tangling and balances the load.
Handling Bulky Items
Bulky items like blankets or jackets absorb more water and get very heavy. Washing them alone makes the drum unbalanced. Add a few towels or smaller clothes to balance the weight. This prevents the washer from shaking or stopping mid-cycle.
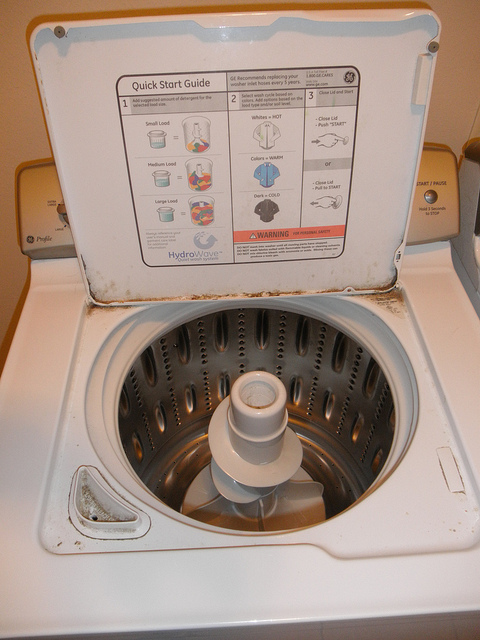
Credit: danmarcappliance.com
Machine Leveling
Machine leveling is a key step to stop washing machine vibrations and shaking. An unlevel washer causes the drum to spin unevenly. This leads to noisy operation and possible damage. Proper leveling ensures the machine stands firm during cycles. It helps maintain balance and extends the washer’s lifespan.
Checking and adjusting the level is simple with basic tools. You can do this yourself without calling a technician. Leveling involves measuring the machine’s position and adjusting the feet. Secure the settings to prevent future shifts. Follow these steps to level your washer correctly.
Using A Carpenter’s Level
Place a carpenter’s level on top of the washing machine. Check the bubble inside the level vial. It should be centered between the lines. Test the level from front to back and side to side. This shows if the machine tilts in any direction. Use this reading to guide your adjustments.
Adjusting Leveling Legs
Most washers have adjustable legs at the bottom corners. Turn the legs clockwise to raise that corner. Turn counterclockwise to lower it. Adjust each leg slowly while checking the level. Make small changes and recheck the bubble each time. The goal is to get the bubble perfectly centered on all sides.
Securing Locknuts
After adjusting the legs, tighten the locknuts on each leg. These nuts hold the legs firmly in place. Use a wrench to tighten them against the washer frame. This stops the legs from moving during use. Tight locknuts keep the machine stable and balanced long-term.
Suspension And Shocks
Preventing washer walking helps keep your machine stable during cycles. It stops the washer from moving across the floor. This reduces noise and protects your floors from damage. Simple steps can make a big difference in washer stability.
Ensuring Firm Foot Contact
Check that all washer feet touch the floor firmly. Uneven contact causes shaking and walking. Use a level tool to test the machine’s balance. Adjust the feet by twisting them to raise or lower each side. Tighten the lock nuts to keep feet in place. Proper foot contact stops the washer from rocking during spins.
Using Anti-vibration Pads
Place anti-vibration pads under each foot of the washer. These pads absorb vibrations and reduce movement. They work well on hard floors like tile or wood. Pads also help protect floors from scratches. Choose thick, durable pads designed for washing machines. Anti-vibration pads are an easy way to keep your washer steady.
Frequently Asked Questions
How Do You Fix An Unbalanced Washing Machine?
Level the machine using adjustable feet. Pause and redistribute clothes evenly inside the drum. Avoid washing a single heavy item alone. Add mixed load types to balance weight. Check and replace damaged suspension parts if shaking persists.
How To Fix A Washing Machine That Shakes Violently?
Level the washing machine on a flat surface. Redistribute clothes evenly inside the drum. Avoid washing only bulky items. Check and replace worn suspension springs or shocks. Tighten all bolts and feet to stop violent shaking.
How Do I Rebalance My Washer Machine?
Pause the cycle and redistribute clothes evenly inside the drum. Add items to balance heavy or bulky loads. Ensure the washer sits level on the floor by adjusting its feet. This prevents shaking and improves spin efficiency.
Why Is My Washing Machine Going Out Of Balance All The Time?
Your washing machine goes out of balance due to unevenly distributed clothes, overloading, or worn suspension parts. Ensure even load and proper leveling.
Why Is My Washing Machine Unbalanced During Spin Cycle?
An unbalanced washer usually means clothes are unevenly loaded. Redistribute the laundry evenly around the drum. This helps the machine spin smoothly without shaking.
Conclusion
An unbalanced washing machine can cause noise and damage. Check that it sits level on the floor. Spread clothes evenly inside the drum before starting. Avoid washing only bulky or heavy items alone. Small adjustments often stop shaking and loud banging.
Regular care helps your washer work smoothly longer. Taking a moment to fix balance saves time and repair costs.