
Setting up a smart home camera can feel overwhelming, especially if it’s your first time. The Blink Outdoor Camera offers an easy way to secure your home, but if you miss important details, you may not get the results you expect. This guide will walk you through every step, give you practical tips, and help you avoid common mistakes. Whether you’re a tech beginner or just want a smoother experience, you’ll learn everything you need to know about installing and using your Blink Outdoor Camera with confidence.
Understanding The Blink Outdoor Camera
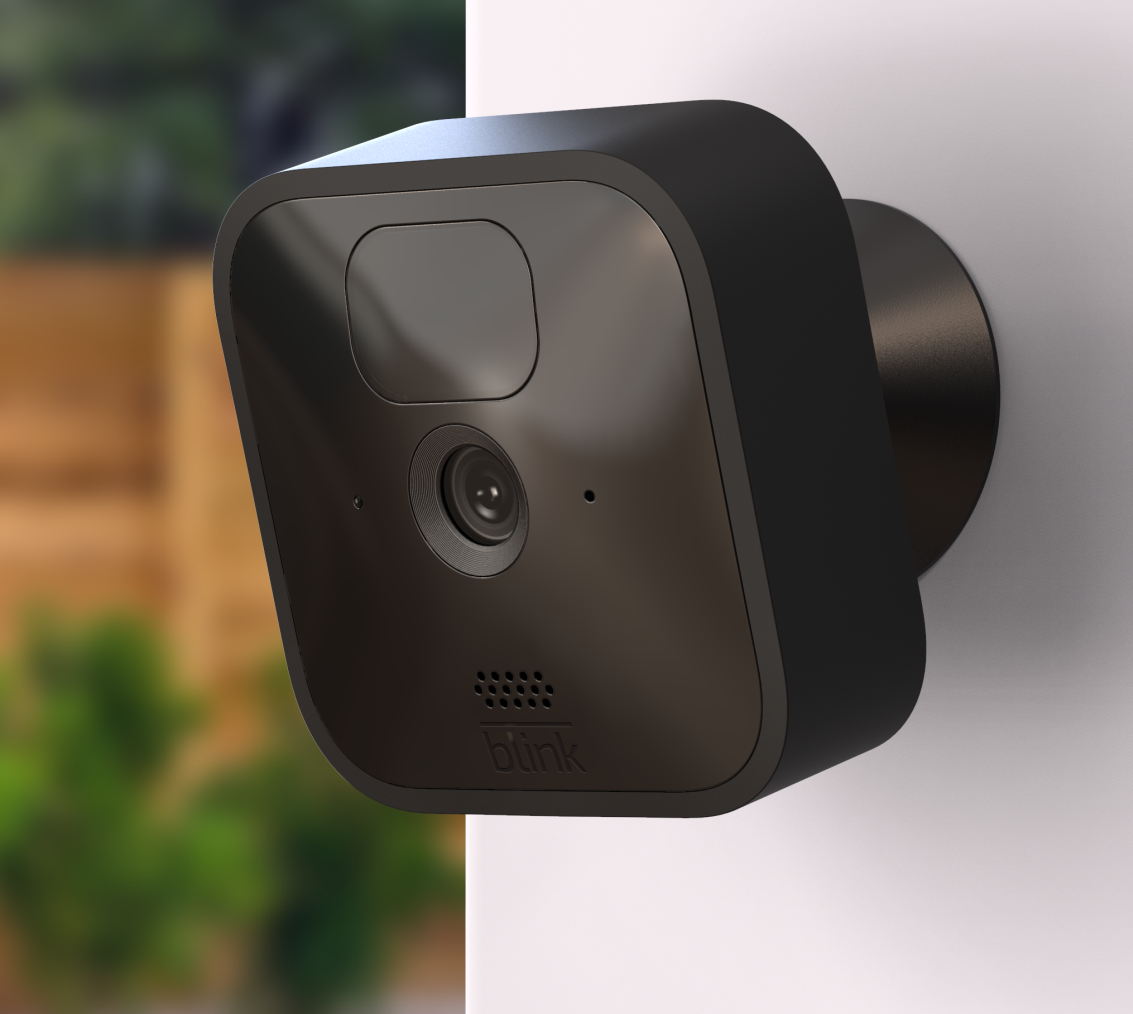
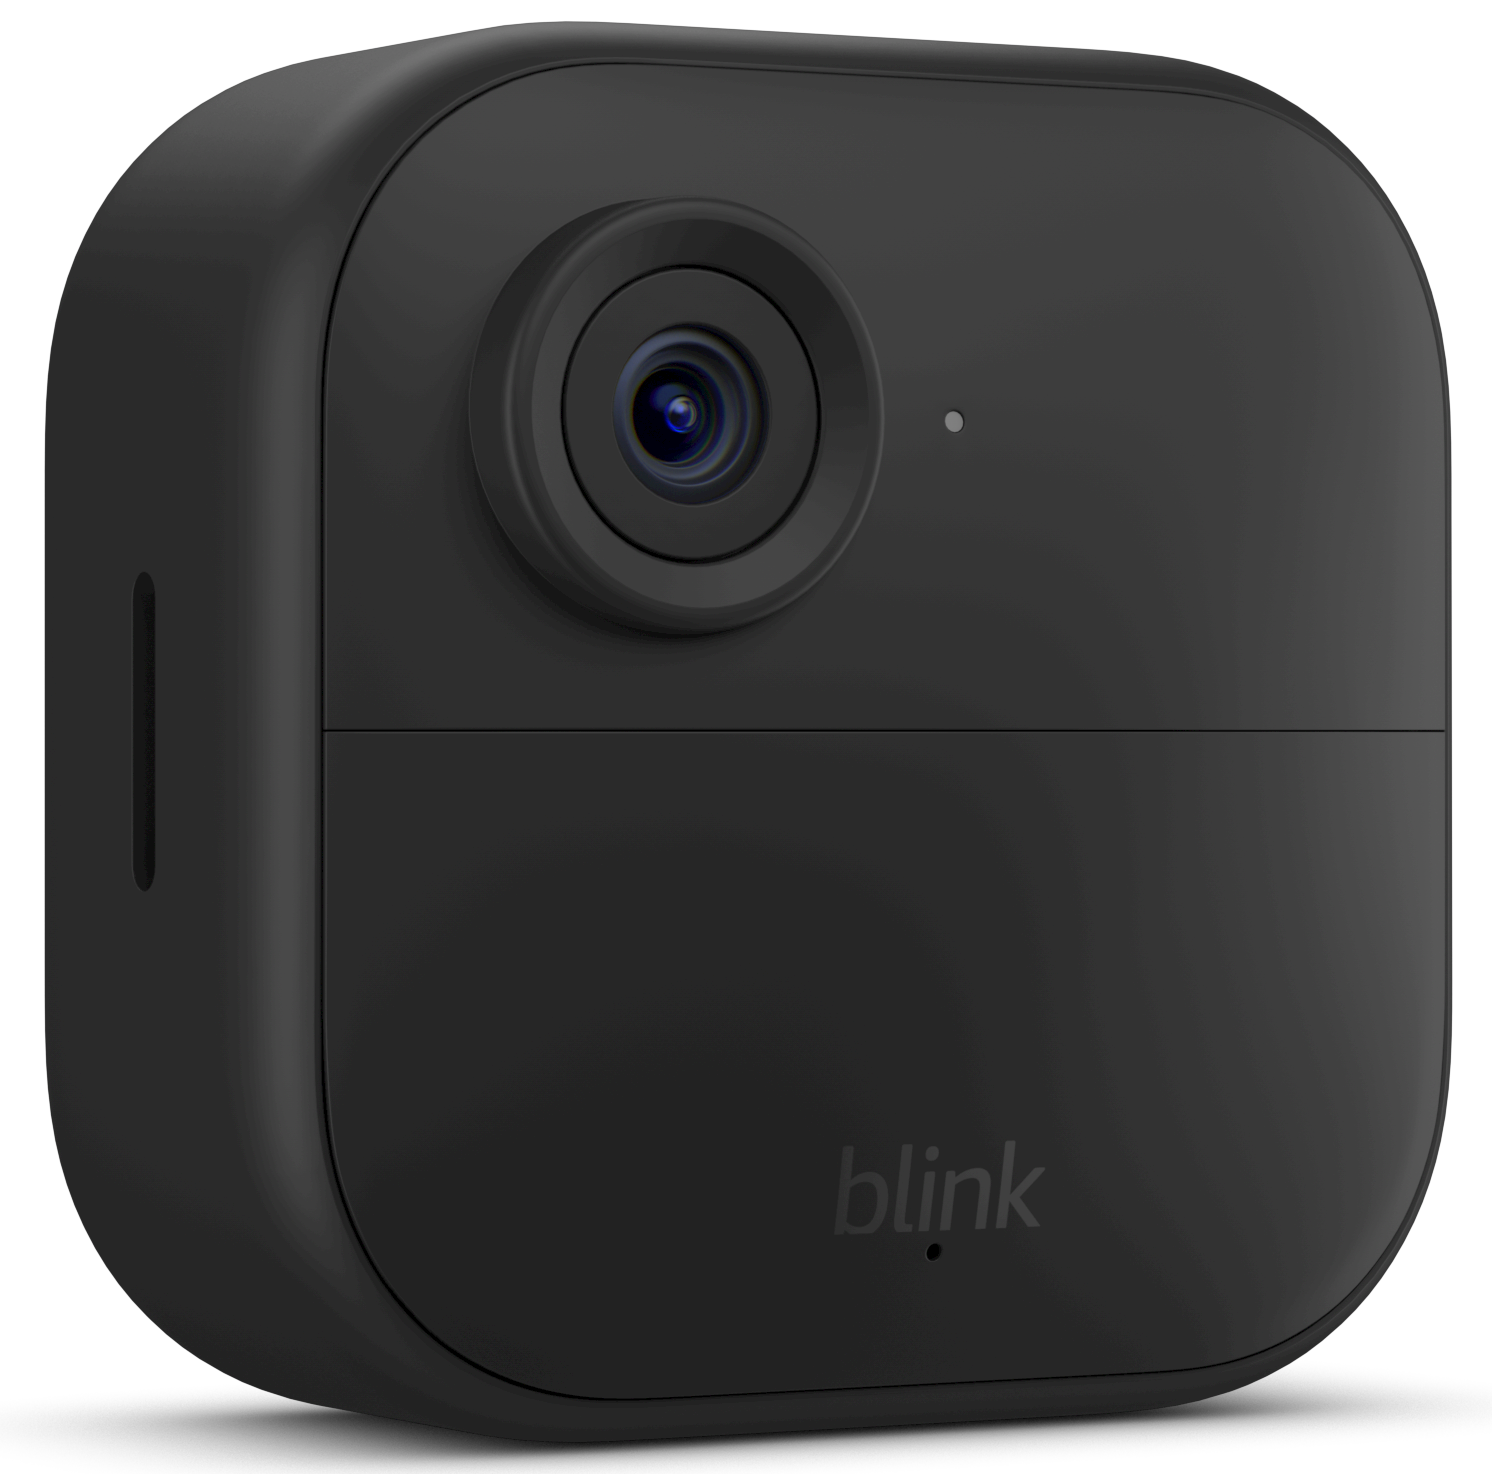
Before you start installation, it’s important to know what the Blink Outdoor Camera offers. This battery-powered security camera is designed for outdoor use. It’s weather-resistant, wire-free, and connects to your Wi-Fi network. You can view video clips, receive alerts, and customize settings all from the Blink app on your smartphone.
Key features include:
- HD video (1080p) for clear images
- Motion detection with customizable zones
- Two-way audio to talk and listen
- Infrared night vision
- Long battery life (up to 2 years on two AA lithium batteries)
- Free cloud storage trial and local storage options
Understanding these features helps you decide where and how to install your camera for best results.
What You Need Before Setup
Start by collecting everything you need. Missing an item can slow you down or lead to mistakes.
- Blink Outdoor Camera (and Sync Module if you bought a multi-camera pack)
- Two AA lithium batteries (included with new cameras)
- Mounting kit (screw, wall mount, and tool, usually included)
- Smartphone or tablet (Android or iOS)
- Strong Wi-Fi connection (2.4 GHz)
- Blink app installed from Google Play or the Apple App Store
- Your Wi-Fi password
Before you begin, make sure your Wi-Fi signal is strong where you plan to install the camera. Weak Wi-Fi is one of the most common problems that causes poor video quality or lost connections.
Unboxing And Getting Started
When you open the Blink Outdoor Camera box, check that all parts are present. You should see:
- Camera unit(s)
- Sync Module 2 (if included)
- Mounting bracket and screws
- Two AA lithium batteries per camera
- USB cable and power adapter for Sync Module
If something is missing or damaged, contact Blink support before continuing.
Setting Up The Blink App
All camera functions are controlled through the Blink app. Setting this up first makes the rest of the process easier.
- Download the Blink app from the Google Play Store or Apple App Store.
- Open the app and select “Create Account” if you’re new to Blink.
- Enter your email address and create a password.
- Verify your email using the link sent to your inbox.
- Log into the app with your new credentials.
Make sure you remember your Blink password and email—these will be needed for future updates or troubleshooting.
Adding The Sync Module
If your camera kit includes a Sync Module, you must set it up first. The Sync Module is the bridge between your cameras and your Wi-Fi network. Without it, the cameras cannot communicate with the app.
Steps To Set Up The Sync Module
- Plug the Sync Module into a power outlet using the included USB cable and adapter.
- Wait for the LED to flash blue and then turn solid green (this usually takes a minute).
- In the Blink app, tap the “+” icon to add a new device.
- Select “Blink Wireless Camera System” and scan the QR code on the back of the Sync Module.
- Follow the app instructions to connect the Sync Module to your Wi-Fi network. Enter your Wi-Fi password when prompted.
- Once connected, the app will confirm the Sync Module is added.
Pro Tip: Place the Sync Module in a central location, close to your Wi-Fi router but also within range of where your cameras will be installed. This improves connection reliability.
Installing Batteries In The Camera
Blink Outdoor Cameras are powered by two AA lithium batteries. These batteries can last up to two years, but only if installed correctly and the camera is not placed in an area with constant motion or poor Wi-Fi.
How To Install The Batteries
- Turn the camera over and locate the back cover.
- Use the included tool or a coin to twist and open the back cover.
- Insert the two AA lithium batteries, making sure the positive and negative ends match the markings.
- Replace the back cover and tighten until it’s secure.
Non-obvious insight: Avoid using alkaline or rechargeable batteries. Only use lithium AA batteries for maximum performance and battery life. Other types may not provide enough power, especially in cold weather.
Adding The Camera To The Blink App
Once the batteries are inserted, you’re ready to connect the camera to your Blink system.
- In the Blink app, tap the “+” icon to add a new device.
- Select “Blink Wireless Camera.”
- Scan the QR code inside the camera’s battery compartment.
- Assign a name to your camera (e.g., “Front Door” or “Backyard”).
- Follow the prompts to connect the camera to your Sync Module. The app will show a live preview once the camera is online.
If you have multiple cameras, repeat these steps for each one.
Choosing The Best Camera Location
Where you place your Blink Outdoor Camera is critical. The right spot can mean the difference between clear video and missed activity.
Key Placement Tips
- Mount the camera 6–8 feet above the ground. This provides a wide field of view and helps capture faces clearly.
- Aim the camera slightly downward to reduce glare from the sun or streetlights.
- Avoid pointing the camera directly at windows or reflective surfaces.
- Choose a spot within Wi-Fi and Sync Module range (typically up to 100 feet, but walls and obstacles can reduce this).
Practical example: If you want to monitor a driveway, mount the camera above the garage, angled toward the entry point. For backyard surveillance, choose a location with a clear view of gates or fences.
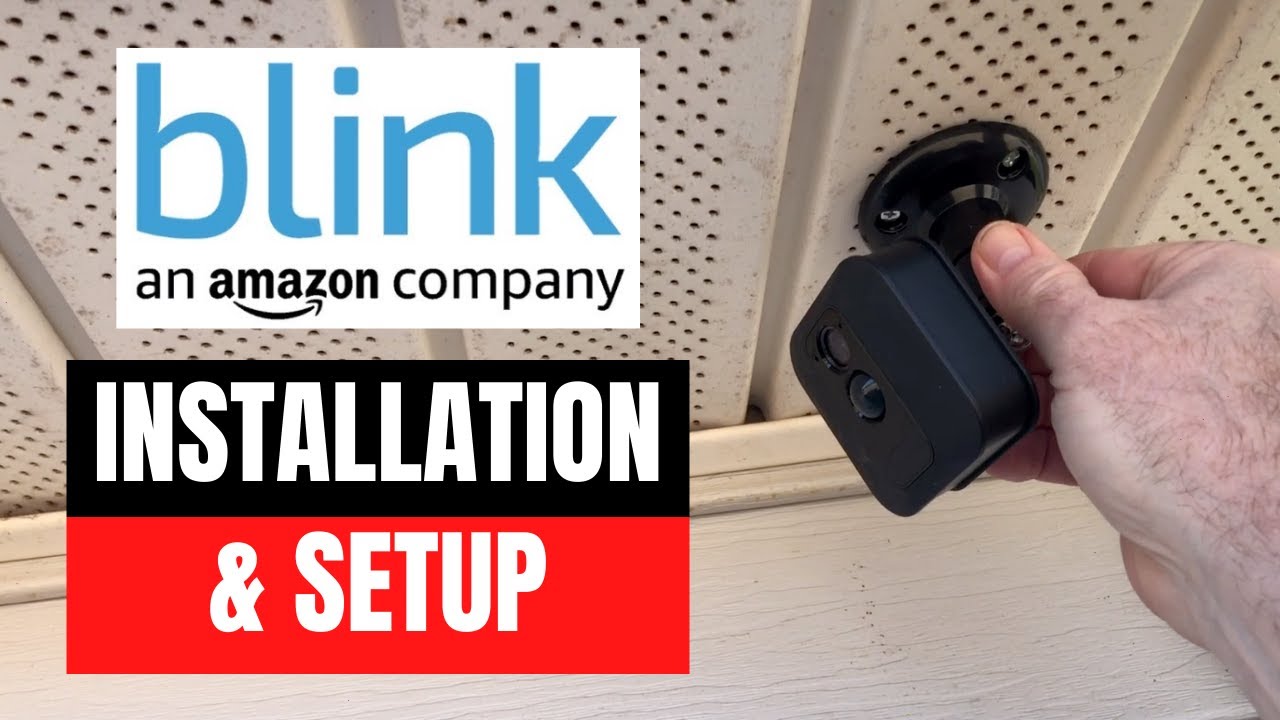
Mounting The Camera
Mounting the camera securely is essential for safety and stability, especially in bad weather.
Steps To Mount Your Blink Outdoor Camera
- Use the mounting template (if included) to mark where the screws will go.
- Drill small pilot holes for the screws.
- Attach the mounting bracket using the provided screws.
- Snap the camera into the bracket. You should hear a click.
- Adjust the camera angle as needed. Test the live view in the Blink app to make sure you have the desired coverage.
Non-obvious insight: Don’t over-tighten the screws. If you do, the plastic bracket may crack over time, especially in extreme temperatures.
Mounting Surface Comparison
Here’s a quick comparison of common surfaces for mounting your camera:
| Surface Type | Ease of Installation | Stability | Weather Impact |
|---|---|---|---|
| Wood | Easy | High | Low |
| Brick/Concrete | Medium (requires drill/anchors) | Very High | Very Low |
| Vinyl Siding | Medium | Medium | Medium |
For brick or concrete, use wall anchors to prevent the screws from loosening over time.
Connecting To Wi-fi And Testing Signal Strength
A weak Wi-Fi signal leads to poor video quality, delayed notifications, or even camera disconnections. Before finalizing the camera’s position, test the Wi-Fi strength using the Blink app’s built-in signal indicator.
- Open the Blink app.
- Tap your camera’s settings.
- Check the signal strength icon for both “Camera to Sync Module” and “Sync Module to Wi-Fi.”
- Full bars: Excellent connection
- 1-2 bars: Move the camera or Sync Module closer to improve reliability
If you see poor signal, try moving the Sync Module to a more central location or reducing the number of walls between devices.
Customizing Motion Detection Settings
The Blink Outdoor Camera uses motion detection to trigger recordings and send alerts. Customizing these settings ensures you get useful notifications without too many false alarms.
How To Adjust Motion Settings
- Tap the camera’s name in the Blink app.
- Open “Motion Settings.”
- Set the motion sensitivity level (medium is a good starting point).
- Use the “Activity Zones” feature to include or exclude areas from triggering alerts. For example, you can block out a busy street to avoid unnecessary notifications.
- Set retrigger time (how long the camera waits before detecting new motion).
Pro Tip: Spend a few days testing and adjusting these settings to match your environment. Too much sensitivity can drain batteries faster and fill your storage with useless clips.
Enabling And Using Two-way Audio
One standout feature of the Blink Outdoor Camera is two-way audio. This allows you to listen and talk through the camera from your phone.
How To Use Two-way Audio
- Open the Blink app and select the camera.
- Tap the “Live View” button.
- Hold the “Press to Talk” button to speak. Release to listen.
This feature is useful for talking to visitors, delivery people, or even warning off potential intruders.
Tip: The microphone is sensitive, but background noise can affect clarity. Try to speak clearly and test the feature with a family member first.
Night Vision And Video Quality Settings
Your Blink Outdoor Camera has infrared night vision for clear images in the dark. You can adjust video quality and night vision settings in the app.
- Go to camera settings in the Blink app.
- Adjust video quality (Saver, Standard, or Enhanced). Higher quality uses more battery but gives clearer images.
- Set infrared intensity for night vision. If images are too bright or too dark at night, adjust this level.
Note: If you install the camera near a streetlight or porch light, you may not need high-intensity night vision.
Saving And Accessing Video Clips
The camera saves motion clips to the cloud or local storage, depending on your setup.
Storage Options Comparison
| Storage Type | Pros | Cons |
|---|---|---|
| Cloud Storage | Access from anywhere, easy sharing, free trial | Subscription needed after trial, limited space |
| Local Storage (USB drive in Sync Module 2) | No monthly fees, more privacy | Access only at home, USB drive required |
To access clips, open the app, select your camera, and tap on “Clips. ” You can download or share these clips as needed.
Sharing Camera Access With Family
You may want others in your household to monitor the camera. Blink allows sharing access, but each person needs their own Blink account.
How To Share Access
- Log in to the Blink app.
- Go to “Manage Account.”
- Use the “Add User” feature to invite others by email.
Each user can view live feeds and clips, but only the main account can change settings.
Important: Do not share your password with others. Set up individual accounts for privacy and security.
Integrating With Alexa And Other Smart Devices
The Blink Outdoor Camera works with Amazon Alexa for hands-free control.
- Open the Alexa app.
- Search for and enable the Blink SmartHome skill.
- Link your Blink account.
- Discover devices. Alexa will list your cameras.
- Use voice commands like “Alexa, show me the front door camera.”
This is helpful for quickly checking live feeds on Echo Show or Fire TV devices.
Non-obvious insight: You can create Alexa routines to arm or disarm your cameras automatically based on your location or time of day.
Maintaining And Troubleshooting Your Camera
Even the best security cameras need occasional maintenance. Simple actions can prevent issues and keep your camera working well.
Regular Maintenance Tips
- Clean the lens with a soft, dry cloth every month.
- Check battery status in the app and replace batteries before they die.
- Update the Blink app and firmware regularly to get new features and security fixes.
Common Problems And Solutions
Problem: Camera not detecting motion
Solution: Increase motion sensitivity and check if “Activity Zones” are set correctly.
Problem: Poor video quality
Solution: Move the camera closer to the Wi-Fi router or Sync Module. Increase video quality in settings.
Problem: Camera not recording at night
Solution: Adjust infrared intensity. Make sure nothing is blocking the lens.
Camera Model Comparison
To help you understand where the Blink Outdoor Camera stands, here’s a comparison with other popular Blink models:
| Feature | Blink Outdoor | Blink Indoor | Blink Mini |
|---|---|---|---|
| Weatherproof | Yes | No | No |
| Power Source | Battery | Battery | Wired |
| Night Vision | Yes | Yes | Yes |
| Audio | Two-way | Two-way | Two-way |
| Cloud Storage | Yes | Yes | Yes |
Security And Privacy Considerations
A security camera is only as good as its privacy settings. Take these steps to keep your footage safe:
- Use a strong, unique password for your Blink account.
- Enable two-factor authentication in the Blink app.
- Keep your app and camera firmware up to date.
- Do not share your account details or allow access to people you do not trust.
For more details on privacy practices, visit the official Blink Privacy Policy.
Practical Tips For First-time Users
If you’re new to home security cameras, you might find these tips useful:
- Test before final mounting. Temporarily place the camera with tape or a clamp and check the view in the app.
- Start with default settings. Tweak sensitivity and zones only after you see how the camera performs.
- Check at different times. Motion detection may behave differently in bright daylight and at night.
- Name your cameras clearly. Use names like “Driveway” or “Back Porch” so you can quickly find the right view.
- Label your Sync Module. If you add more cameras later, you’ll know which system is which.
Upgrading And Expanding Your System
As your needs change, you might want to add more cameras or upgrade your storage.
Adding More Cameras
- The Sync Module 2 can support up to 10 Blink cameras.
- Follow the same steps to add new cameras in the Blink app.
- Assign unique names to each for easy management.
Upgrading Storage
- Insert a USB flash drive (up to 256GB) into the Sync Module 2 for more local storage.
- Use the app to manage storage and delete old clips.
Pro Tip: If you move to a new home or Wi-Fi network, use the app’s “Change Network” feature instead of deleting and re-adding all devices.
Maximizing Battery Life
The advertised two-year battery life is based on standard use—about 10 short video clips per day. Real-world conditions can shorten this.
Tips for longer battery life:
- Reduce motion sensitivity or retrigger time if you’re getting too many clips.
- Lower video quality if you don’t need sharp images.
- Avoid placing cameras in high-traffic areas unless necessary.
- Keep the camera’s firmware updated for the latest power-saving features.
Non-obvious insight: Extreme cold can reduce battery life. In winter, check battery levels more often and consider using camera covers for insulation.
Frequently Asked Questions
How Do I Reset My Blink Outdoor Camera?
To reset, remove the batteries, wait 10 seconds, and reinsert them. The camera will reboot. If you need to reset the Sync Module, press the reset button with a paperclip for 5 seconds until the LED flashes red.
Can I Use Blink Outdoor Camera Without The Sync Module?
No, the camera needs a Sync Module to connect to Wi-Fi and the Blink app. Only the Blink Mini can work without a Sync Module.
What Happens When The Free Cloud Storage Trial Ends?
After the trial, you need a subscription for cloud storage or use local storage with a USB drive in the Sync Module 2. You’ll still get notifications and live view without a subscription.
How Many Cameras Can I Connect To One Sync Module?
The Sync Module 2 supports up to 10 Blink cameras. Adding more can slow down your network and reduce performance.
Is Blink Outdoor Camera Waterproof?
The camera is weather-resistant (IP65 rated), meaning it can handle rain and snow. However, do not submerge it in water or mount it where it will be directly sprayed.
Setting up the Blink Outdoor Camera is simple with the right steps and a little preparation. By following this guide, you’ll avoid common mistakes, keep your home secure, and get the most from your investment. Remember, the key to a reliable system is good placement, a strong Wi-Fi connection, and regular maintenance. With these tips, you’re ready to protect your home with confidence. For more details and the latest updates, you can also check the official Blink Support Center.