
Is your ceiling fan light not working, leaving your room dim and frustrating you? You’re not alone, and the good news is that this common problem often has simple fixes.
Whether the light won’t turn on at all or flickers unexpectedly, you don’t have to live in the dark or rush to call an electrician just yet. In this guide, you’ll learn easy, step-by-step ways to diagnose and repair your ceiling fan light—using tools and parts you probably already have at home.
By the end, you’ll know exactly where to look and what to try first, saving you time, money, and hassle. Keep reading to bring your ceiling fan light back to life quickly and safely!
Power Check
Pull chain issues often cause ceiling fan lights to stop working. The pull chain controls the light switch inside the fan. Over time, the switch can wear out or break. This stops the light from turning on or off. Simple tests can find out if the chain switch is the problem.
Fixing pull chain problems usually involves testing the switch and replacing it if needed. These steps help restore the light function quickly and safely.
Test Chain Switch
Start by pulling the chain gently a few times. Listen for a clear clicking sound. The click shows the switch is working. No click means the switch may be broken. Use a multimeter to check for electrical continuity. Set the meter to the ohms setting. Pull the chain and watch the meter. If the reading does not change, the switch is faulty.
Testing the chain switch helps decide if replacement is necessary. It saves time and money on repairs.
Replace Faulty Switch
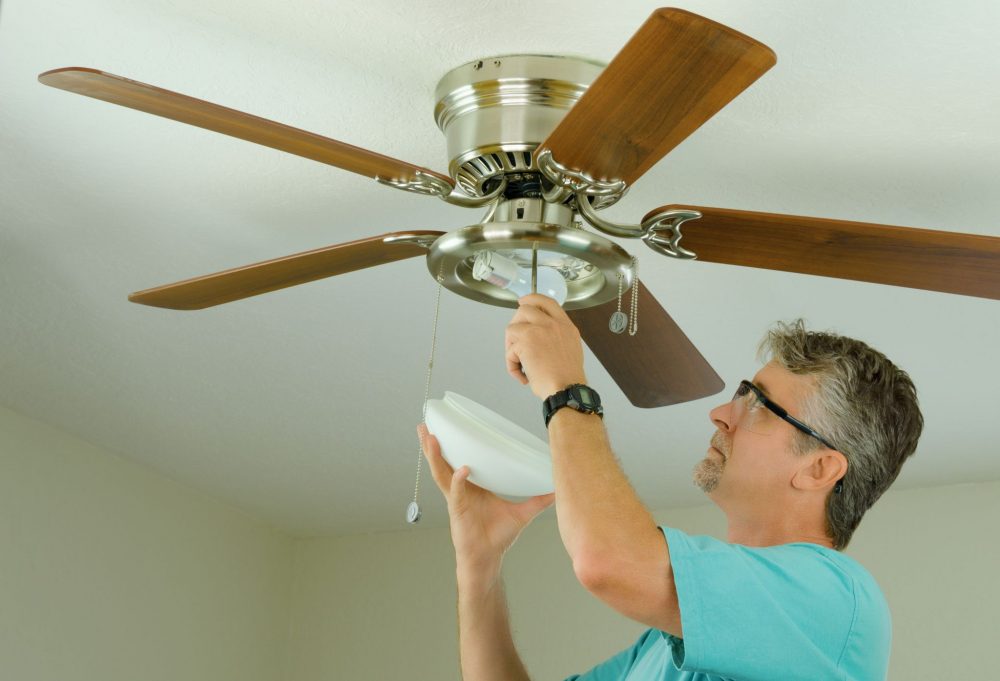
Turn off power at the circuit breaker before starting. Remove the fan light cover to access the switch. Disconnect the wires from the old switch. Note the wire positions for reinstallation. Attach the wires to the new pull chain switch. Secure the switch in place. Replace the light cover and restore power.
Pull the chain to test the new switch. The light should turn on and off easily. Replacing a faulty switch fixes the pull chain problem and restores the light function.
Bulbs And Sockets
Inspecting the wiring of your ceiling fan light is crucial for finding the cause of the problem. Faulty wiring can stop the light from working, even if the bulbs are fine. A careful check can reveal loose wires or damaged connections. This step ensures safety and helps avoid further damage to the fan or home electrical system.
Turn off the power at the circuit breaker before starting any wiring inspection. Use a voltage tester to confirm no electricity flows to the fan. This prevents shocks and accidents during your work. Proceed only when you are sure the power is off.
Check Canopy Wiring
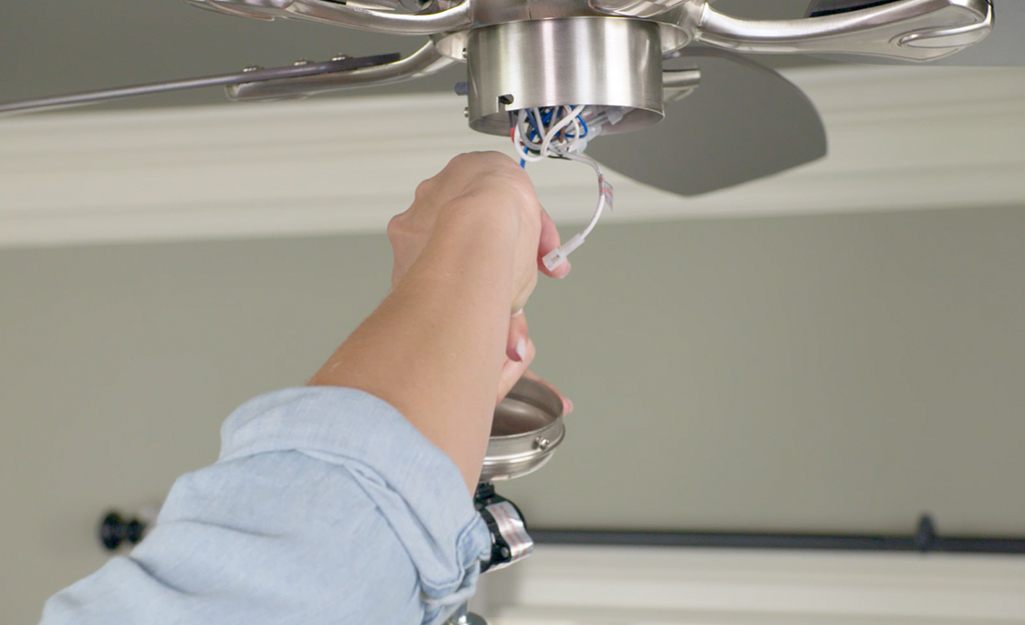
The canopy covers the fan’s wiring where it meets the ceiling. Remove the canopy carefully to see the wires inside. Look for any signs of loose or disconnected wires. Inspect the wire nuts to make sure they are tight and secure. Damaged or frayed wires need repair or replacement. The canopy wiring is often the source of light problems in ceiling fans.
Secure Wire Connections
Loose wire connections can stop the light from turning on. Check all wire connections inside the canopy and at the light kit. Twist wires together firmly and use wire nuts to hold them in place. Tug gently to confirm they do not come apart. Make sure no bare wires are exposed outside the connectors. Secure connections improve electrical flow and prevent flickering or outages.
Pull Chain Issues
The remote control plays a key role in operating your ceiling fan light. Issues with the remote can stop the light from working. Troubleshooting the remote is often simple and quick. Two common fixes include replacing the remote batteries and bypassing the remote receiver. These steps help restore light function without complex repairs.
Replace Remote Batteries
Remote batteries often run out without warning. Dead batteries stop the remote from sending signals to the fan. Start by opening the battery compartment on the remote. Remove old batteries and check for corrosion or dirt. Clean the contacts gently with a dry cloth. Insert fresh batteries, matching the correct polarity. Test the remote to see if the light responds. This fix solves many remote control issues fast and cheap.
Bypass Remote Receiver
The remote receiver inside the fan can fail, blocking commands. Bypassing the receiver lets you control the light manually. First, turn off power at the circuit breaker for safety. Locate the receiver unit in the fan canopy. Identify the wires connected to the remote receiver. Disconnect the receiver and join the power wires directly to the light wires. Use wire nuts to secure connections and wrap with electrical tape. Restore power and use the pull chain or wall switch to operate the light. This method removes the faulty remote unit and returns basic control.

Credit: www.youtube.com
Wiring Inspection
The wattage limiter bypass is a common fix for ceiling fan lights that won’t turn on. Some ceiling fans include a wattage limiter to prevent using bulbs that draw too much power. This limiter can sometimes cause the light to stop working, especially with LED bulbs.
Bypassing the wattage limiter involves modifying the fan’s wiring. This allows the light to operate without restrictions on bulb wattage. The process requires careful handling of wires and knowledge of your fan’s electrical components.
Identify Wattage Limiter
First, locate the wattage limiter inside the fan’s wiring harness. It usually looks like a small box or module connected to the light kit wires. The limiter often has a blue wire and other colored wires attached to it.
Unplug the fan from power before inspecting the wires. Check the wiring diagram if available. The wattage limiter sits between the fan’s power source and the light kit.
Cut And Connect Wires
After locating the limiter, carefully cut the blue wire connected to it. Also, find the black and white wires running to the light kit. Cut these wires from the limiter side.
Twist the black wire from the power source with the black wire to the light kit. Do the same for the white wires. This bypasses the limiter and restores power directly to the light.
Use wire nuts to secure the connections. Wrap the wires with electrical tape for safety. Turn the power back on and test the light. It should now work without the limiter.
Remote Control Fixes
Working on a ceiling fan light requires careful attention to safety. Electricity can be dangerous if not handled properly. Following safety tips reduces risks and protects you from harm. Always prepare before starting any repair or inspection.
Turn Off Power
Always switch off the power at the circuit breaker. Do not rely only on the wall switch. Confirm the power is off by testing the fan or light. This step prevents electric shocks while working on the ceiling fan. Safety starts with cutting off the power source completely.
Use Multimeter Safely
A multimeter helps check electrical connections and voltage safely. Set the multimeter to the correct setting before testing. Avoid touching metal parts of the probes during use. Hold the probes by their insulated handles only. Follow the tool’s instructions carefully to prevent accidents.
Credit: www.homedepot.com
Frequently Asked Questions
What Happens When An Integrated Led Light Burns Out?
When an integrated LED light burns out, you must replace the entire light fixture. Individual LEDs cannot be replaced separately.
How To Fix A Ceiling Fan That Won’t Light Up?
Check the power supply and replace blown bulbs. Inspect light sockets and wiring for loose connections. Test or reset the remote control. Verify the pull chain switch works. If needed, bypass the remote receiver or replace faulty parts. Always turn off power before repairs.
Do Ceiling Fans Have A Fuse In Them?
Ceiling fans typically do not have a fuse inside them. Circuit breakers or fuses in your home’s electrical panel provide protection. Some fans may include a wattage limiter or thermal fuse, but these are rare. Always check your home’s breaker if the fan or light stops working.
Do Led Ceiling Fan Lights Burn Out?
Yes, LED ceiling fan lights can burn out, but they last much longer than traditional bulbs. Replacement may require changing the entire light kit.
Why Is My Ceiling Fan Light Not Turning On?
Check if the bulbs are burnt out or loose in their sockets. Also, ensure the power supply to the room is active and the switch is on.
Conclusion
A ceiling fan light not working can feel frustrating. Start by checking the power and bulbs first. Small issues like loose wires or a faulty switch often cause problems. Testing the pull chain and remote control helps find the cause quickly.
Always turn off the power before inspecting wiring. Simple fixes can save you time and money. With careful steps, you can restore your fan light easily. Don’t ignore safety while troubleshooting. A working ceiling fan light improves comfort and adds brightness to any room.