
If you’re reading this, there’s a good chance your Honeywell thermostat is causing trouble. Maybe your house isn’t heating or cooling like it should, or the screen is blank and unresponsive. These problems are more common than you might think. Many homeowners face thermostat issues, and knowing how to fix them can save time, money, and a lot of frustration.
A thermostat is the brain of your heating and cooling system. When it stops working, your comfort disappears fast. This guide will help you understand why your Honeywell thermostat isn’t working, how to troubleshoot the most common problems, and when it’s time to call a professional.
You’ll also learn practical tips to prevent future issues and keep your home comfortable year-round. Whether you’re a DIY beginner or have some experience, you’ll find clear advice here.
Common Reasons Your Honeywell Thermostat Isn’t Working
When your Honeywell thermostat fails, the cause is often simple. But some problems are harder to spot. Let’s look at the main reasons thermostats stop working and how to spot each one.
1. Dead Batteries
Many Honeywell thermostats use batteries. If the screen goes blank or the unit won’t respond, dead batteries are a likely cause. Most models need new batteries every 12-24 months. Some advanced models have a low battery warning, but not all.
It’s easy to forget about batteries because they last so long. However, if you don’t replace them in time, your thermostat may suddenly stop working—especially during extreme weather when you need it most.
2. Power Supply Issues
If your thermostat is hardwired, a power cut, blown fuse, or tripped circuit breaker can shut it down. Sometimes, the problem is with the home’s electrical system, not the thermostat itself. For example, if other devices in the same room are not working, it’s likely a bigger power issue.
Always check the main electrical panel to see if any breakers have flipped to the “off” position.
3. Loose Or Faulty Wiring
Wires can become loose over time, especially if the thermostat was installed poorly. A single loose wire can stop the thermostat from sending signals to your HVAC system. Rodents or pets can also damage wiring behind the wall, or wires may loosen due to vibration from the HVAC unit itself.
4. Blown Fuse In Furnace Or Air Handler
Many HVAC systems have a small fuse on the control board. If this fuse blows, the thermostat will lose power even if the home’s electricity is fine. This often happens after a power surge or if wiring is shorted during a previous repair.
Some fuses are easy to spot—they look like small car fuses that you can pull out and replace.
5. Wrong Settings Or Programming
It’s easy to accidentally set the wrong temperature, mode (heat/cool/off), or schedule. Even a small mistake can make the thermostat seem broken. For example, if the system is set to “heat” in the summer, your AC won’t turn on. Some programmable thermostats can also have complicated schedules that override manual settings.
6. Dirty Or Damaged Sensors
Honeywell thermostats use sensors to measure room temperature. If these are dirty or faulty, the thermostat will read the wrong temperature and won’t control heating or cooling correctly. Sometimes, even sunlight directly on the thermostat or nearby electronics can trick the sensor into reading a temperature that’s not accurate for the whole room.
7. Software Or Firmware Issues
Smart thermostats sometimes freeze or crash due to software glitches. Outdated firmware can cause bugs that make the system unresponsive. If your thermostat is connected to Wi-Fi, it may try to update itself—sometimes this process fails and causes temporary problems.
8. Hvac System Problems
Sometimes, the issue isn’t the thermostat but the furnace, air conditioner, or heat pump. If your system has a safety switch, clogged filter, or broken part, it might not respond to thermostat signals. For example, a safety switch might trip if there’s too much water in the drain pan, completely shutting down the system.
9. Physical Damage
Thermostats can be damaged by impacts, water, or even insects. A cracked screen or water inside the unit can cause permanent failure. Even a small crack or moisture from high humidity can short out the electronics.
10. Age And Wear
Most thermostats last 10-15 years. After that, parts can wear out, and the unit may need to be replaced. Over time, internal contacts can corrode, and displays can fade, making the thermostat less reliable or harder to read.
How To Troubleshoot A Honeywell Thermostat
Fixing a Honeywell thermostat isn’t always hard. Follow these steps to diagnose and solve the most common problems. If you’re not comfortable with electrical work, stop and call a professional.
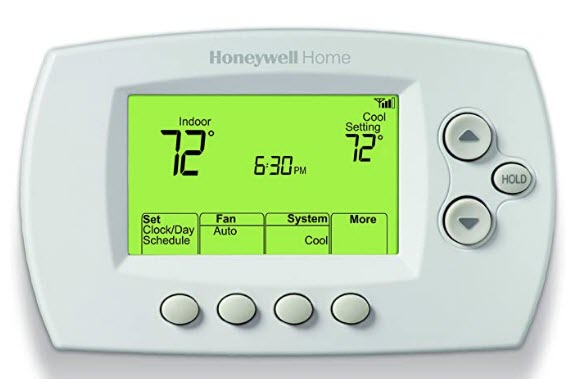
1. Check The Display
Is the screen blank, faded, or frozen? If so, the thermostat may have lost power or needs new batteries. If the display shows an error code, check the manual for its meaning. Some models display a “low battery” icon or a warning message before shutting off completely, so keep an eye out for these alerts.
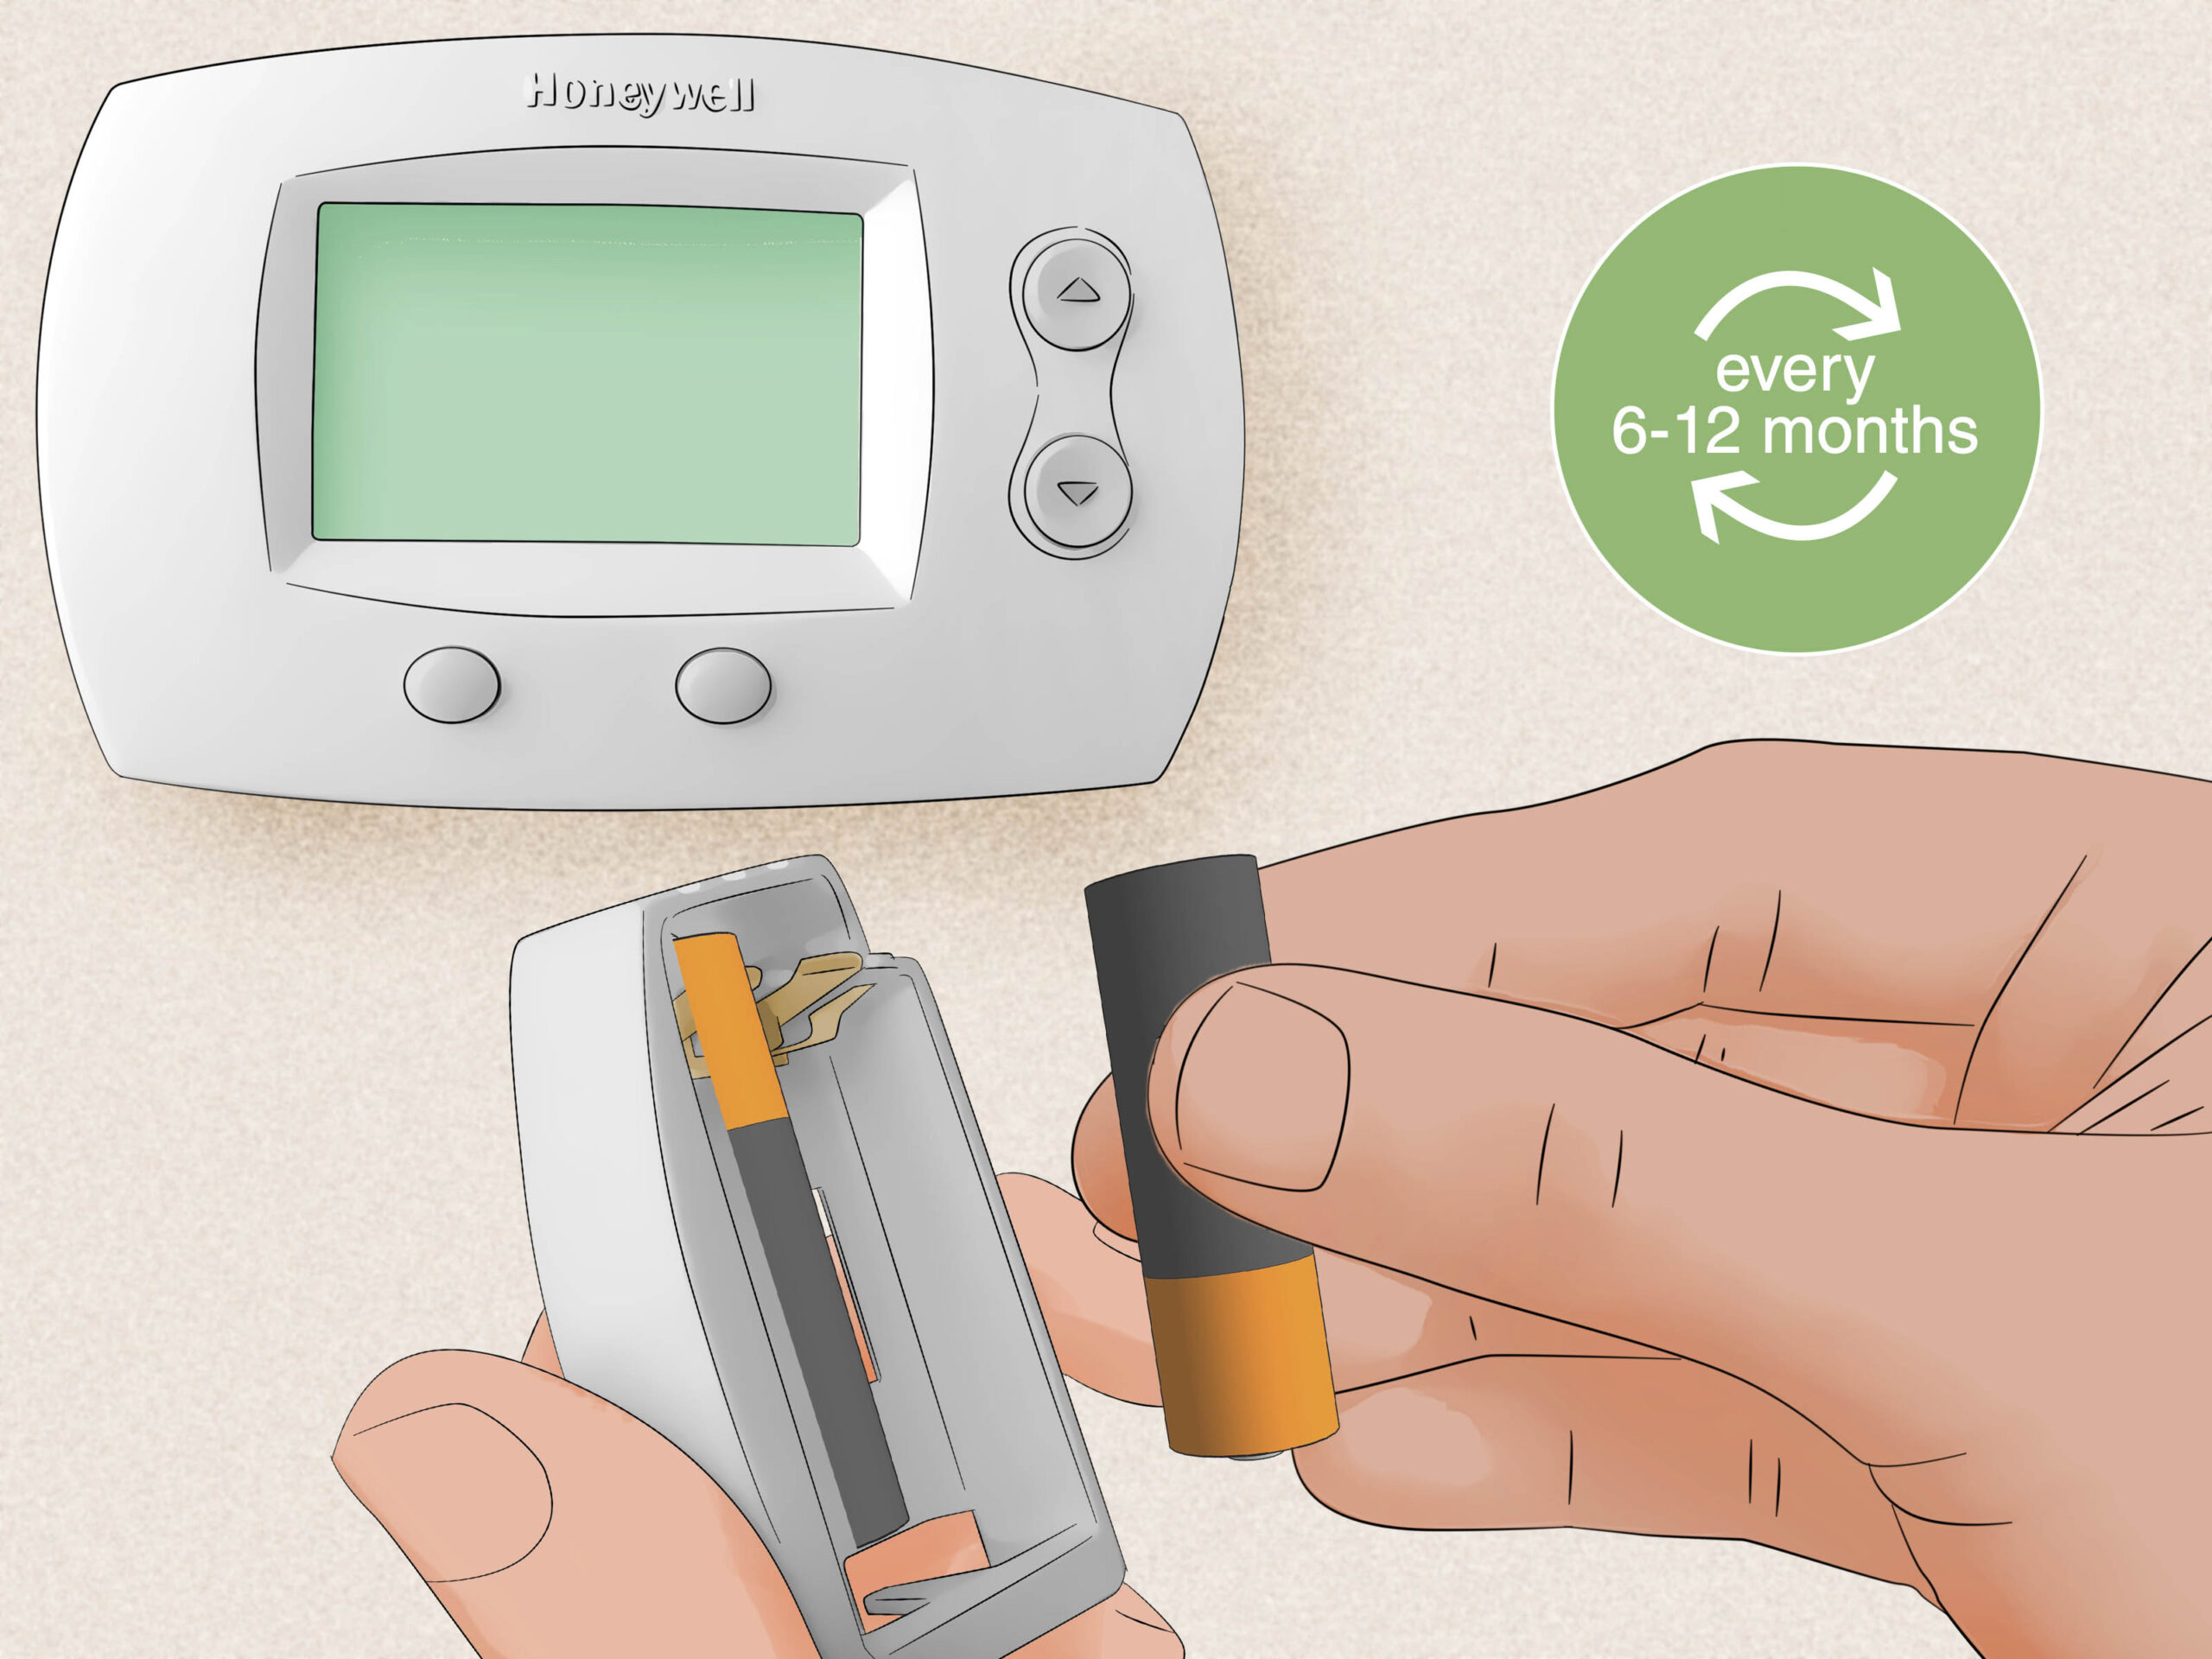
2. Replace The Batteries
If your thermostat uses batteries, open the cover and swap them for fresh ones. Use the type recommended in your manual (usually AA or AAA). Make sure to insert them with the correct polarity (+/-). Sometimes, battery terminals can become corroded.
If you see white powder or greenish buildup, gently clean it with a cotton swab and vinegar before inserting new batteries.
3. Confirm Power Supply
For hardwired models, check the circuit breaker and HVAC system switch. Reset any tripped breakers. If the thermostat still doesn’t turn on, there may be a blown fuse on the furnace or air handler board. Some homes have a separate switch near the furnace—double-check that it’s in the “on” position.
4. Inspect The Wiring
Turn off the power before removing the thermostat from the wall. Check for loose or disconnected wires. Gently press each wire into its terminal. If you see burnt or corroded wires, call a professional. Take a photo of the wiring before touching anything, so you remember where each wire goes when reassembling the thermostat.
5. Review Thermostat Settings
Double-check the mode (heat, cool, auto, off). Make sure the temperature is set above (for heating) or below (for cooling) the current room temperature. If you use a programmable model, review the schedule for errors. Look for settings like “vacation mode” or “hold” that can override your usual preferences.
6. Reset The Thermostat
Many Honeywell models have a reset button or a way to reset in the menu. A reset can clear bugs or misconfigurations. After resetting, you may need to re-enter your schedule and preferences. Write down your preferred settings before resetting, so you can quickly restore them afterward.
7. Clean The Thermostat
Dust and dirt can affect sensors and buttons. Use a soft brush or compressed air to clean the thermostat gently. Never spray liquid directly onto the unit. For touchscreens, use a microfiber cloth to avoid scratching the surface.
8. Update The Firmware
For Wi-Fi or smart models, check the Honeywell app or website for updates. Firmware updates can fix bugs and improve performance. Make sure your thermostat is connected to your Wi-Fi network before starting an update—interrupting the process can cause more issues.
9. Test The Hvac System
Set the thermostat to “fan only. ” If the fan doesn’t run, the problem may be with your HVAC system, not the thermostat. You can also try switching between heating and cooling to see if either mode works.
10. Call A Professional
If you’ve tried everything above and the thermostat still won’t work, it’s time to get expert help. Electrical and HVAC issues can be dangerous if you’re not trained. A professional can quickly check things like control boards and safety switches that are hard for homeowners to diagnose.
Honeywell Thermostat Error Codes And What They Mean
Some Honeywell thermostats display error codes when there’s a problem. Understanding these codes helps you fix issues faster. Here are common codes and what they mean:
- E1/E2: Communication error between thermostat and HVAC system. Check wiring and power. This might mean a loose connection or a fault on the control board.
- E3/E4: Sensor failure. The temperature sensor may be disconnected or faulty. Sometimes, you can fix this by reseating the sensor wire inside the unit.
- E5: Low voltage or power supply problem. Make sure all wires are connected and the power source is stable.
- E6: Wi-Fi connection error (for smart thermostats). Reconnect to your network. Sometimes, a simple router restart can help.
- E7: Internal fault. Try resetting the thermostat. If this keeps happening, the main board may be failing.
If your thermostat shows a different code, check the user manual or the official Honeywell support site for details. Some codes are unique to specific models, so always refer to model-specific documentation.
Comparing Honeywell Thermostat Models: Troubleshooting Difficulty
Different Honeywell thermostats have different features and troubleshooting steps. The table below compares some popular models:
| Model | Power Source | Reset Method | Common Issues | Ease of Troubleshooting |
|---|---|---|---|---|
| Honeywell T4 Pro | Batteries or Hardwired | Menu/Physical Button | Battery loss, wiring | Easy |
| Honeywell RTH9585WF | Hardwired | Settings Menu | Wi-Fi, firmware | Medium |
| Honeywell 8000 Series | Hardwired | Physical Button | Sensor, wiring | Medium |
| Honeywell 2000 Series | Batteries | Remove Batteries | Battery, display | Easy |
Smart models can be harder to troubleshoot because of Wi-Fi and app integration. Simple, battery-powered models are usually easier for beginners. Some models have touchscreen displays that make navigation easier, while others use physical buttons, which can be more reliable over time.

Honeywell Thermostat Not Working: Real-life Scenarios
Let’s look at some examples to see how these problems play out in real homes.
Example 1: Blank Screen, No Response
A homeowner notices that their Honeywell thermostat screen is blank. They check the batteries, but replacing them doesn’t help. Next, they check the furnace and find a blown fuse. After replacing the fuse, the thermostat powers on, and the system works again.
Insight: A blank screen can mean more than dead batteries. Check your HVAC system’s fuse if battery replacement fails. Also, power surges after storms are a common cause of blown fuses.
Example 2: System Won’t Cool
Another homeowner sets the thermostat to cool, but the AC doesn’t turn on. They check settings—everything seems correct. After opening the thermostat, they discover a loose wire. Securing the wire solves the problem.
Insight: If your system ignores commands, loose wiring may be the cause—even if the display looks fine. In some cases, wires can look attached but are not fully inserted, so always give a gentle tug to test each connection.
Example 3: Smart Thermostat Offline
A user with a Honeywell Wi-Fi thermostat can’t control it from their phone. The screen says “E6. ” They reconnect the thermostat to their Wi-Fi, and everything works again.
Insight: Smart thermostats can fail due to simple Wi-Fi issues. Always check your network first. Sometimes, interference from other electronics or a weak signal can cause frequent disconnects, so try moving your router closer if possible.
When To Repair Vs Replace A Honeywell Thermostat
Some thermostat problems are easy to fix, but others mean it’s time for a new unit. Here’s how to decide.
Repair
- The problem is minor (dead batteries, simple wiring issues)
- The display is working, but settings are wrong
- The thermostat is less than 10 years old
- The repair cost is low (under $100)
- The issue is solved after a quick reset or cleaning
Replace
- The thermostat is over 10-15 years old
- The screen is cracked or water-damaged
- The unit fails after multiple resets or repairs
- Upgrading to a smart thermostat for better features
- The thermostat no longer supports current firmware or app updates
Tip: If your energy bills are rising and your thermostat is old, a new model may pay for itself in efficiency savings. Modern thermostats offer features like learning your habits, remote control, and energy reports.
Credit: coolwithbowman.com
How To Prevent Honeywell Thermostat Problems
Many thermostat failures can be avoided with simple maintenance and habits. Here’s what to do:
- Change Batteries Regularly: Replace them every year, even if they seem fine. Mark a date on your calendar or set a phone reminder.
- Clean the Thermostat: Dust can cause problems. Clean the unit gently every few months. Avoid using water or cleaning sprays near the device.
- Check Wiring: If you notice loose wires, secure them right away. When doing any work on your HVAC system, always double-check connections before closing up.
- Update Firmware: For smart models, keep software up to date using the Honeywell app. Firmware updates can prevent bugs and add new features.
- Review Settings: Check schedules and temperature settings each season. For example, adjust cooling in summer and heating in winter to match your needs.
- Get Annual HVAC Service: A technician can spot problems before they get worse. Regular servicing can also keep your whole system running efficiently.
- Avoid Direct Sunlight and Heat Sources: Install the thermostat away from windows, lamps, and electronics to prevent false temperature readings.
- Replace Old Thermostats Before They Fail: If your unit is more than a decade old, consider replacing it as a preventative measure.
Cost Of Fixing Or Replacing A Honeywell Thermostat
Thermostat repairs are usually affordable, but costs can rise if you need a new unit or professional help. Here’s a breakdown:
| Problem | DIY Cost | Professional Cost |
|---|---|---|
| Battery Replacement | $5–$10 | N/A |
| Fuse Replacement | $5–$15 | $80–$150 |
| Wiring Repair | Free–$10 | $75–$200 |
| New Thermostat (Basic) | $20–$60 | $100–$250 |
| New Thermostat (Smart) | $100–$250 | $200–$400 |
DIY repairs are the cheapest, but don’t risk safety. If you’re unsure, hire a licensed technician. Also, many professionals offer a warranty on their work, which can save money if problems come back.
Honeywell Thermostat Vs Other Brands: Reliability
How does Honeywell compare to other brands? Here’s a quick look:
| Brand | Average Lifespan | Common Issues | Customer Support |
|---|---|---|---|
| Honeywell | 10-15 years | Batteries, wiring | Good |
| Nest | 10-12 years | Wi-Fi, firmware | Excellent |
| Ecobee | 8-12 years | Sensor errors | Good |
| Lux | 8-10 years | Battery, display | Fair |
Honeywell thermostats are known for reliability and long life. Their customer support is strong, and replacement parts are widely available. Another advantage is Honeywell’s compatibility with a wide range of HVAC systems, making them a safe choice for most homes.
Non-obvious Insights Most People Miss
Many homeowners overlook these key points when dealing with a Honeywell thermostat not working:
- HVAC Safety Switches: Some systems have a safety switch (like a float switch) that shuts off power if there’s a water leak. If your thermostat is dead and you have a modern HVAC, check for a tripped safety switch near the unit. These switches are sometimes hidden in the drain pan or near the furnace.
- C-Wire Requirement: Smart thermostats often need a “C-wire” (common wire) for power. If your old thermostat worked without one and you upgraded to a smart model, this missing wire can cause strange issues or no power at all. There are adapter kits available, but installation can be tricky without experience.
- Seasonal Changes Can Cause Confusion: Many people forget to switch the thermostat from “heat” to “cool” (or vice versa) at the start of each season. If your home isn’t comfortable, check this first before assuming something is broken.
- Location Matters: If your thermostat is installed in a hallway with poor airflow, it may not accurately control the temperature in main living spaces. Consider relocating it for better comfort and efficiency.
Knowing about these less obvious factors can save hours of frustration.
When To Call A Professional
Some thermostat issues are too risky or complex for DIY fixes. Call a licensed HVAC technician if:
- You see or smell burning, or wires are melted
- The thermostat won’t power on after checking batteries, wiring, and fuses
- You’re not comfortable handling electrical parts
- HVAC system shows error codes you don’t understand
- There’s water damage or insects inside the thermostat
A good technician can fix the problem safely and quickly. If your system is under warranty, professional repairs may be required. They also have specialized tools for testing voltage, sensors, and control boards, which most homeowners do not.
Where To Find More Help
If you need more information, check the official Honeywell support page. They offer manuals, troubleshooting guides, and live support for most models. You can also find video tutorials and answers to common questions for your specific thermostat model.
Frequently Asked Questions
Why Is My Honeywell Thermostat Screen Blank?
A blank screen is usually caused by dead batteries, a blown fuse in your HVAC system, or a power supply issue. Try replacing the batteries first. If that doesn’t work, check the system’s fuse and circuit breaker. If all else fails, the thermostat itself could be faulty or too old.
How Do I Reset A Honeywell Thermostat?
Most Honeywell thermostats can be reset using a reset button or through the settings menu. Check your model’s manual for the exact steps. Resetting will erase custom settings, so you may need to reprogram schedules. For some models, removing the batteries for a minute can also reset the device.
What Does It Mean If My Thermostat Says “e1” Or “e2”?
These codes signal a communication error between your thermostat and HVAC system. This often means a wiring issue or a problem with the control board. Turn off power before checking wires. If the error comes back after fixing wiring, the control board may need inspection.
How Do I Know If My Thermostat Needs To Be Replaced?
Replace your thermostat if it’s older than 10-15 years, has a cracked screen, or won’t work after you’ve tried all troubleshooting steps. Upgrading can also improve energy efficiency. If your energy bills are rising and your system runs constantly, a new thermostat may help.
Can I Install A Honeywell Thermostat Myself?
Many basic Honeywell models are easy to install if you’re comfortable with simple wiring. However, smart thermostats may require a C-wire and more advanced setup. If you’re unsure, it’s best to hire a professional. Always turn off power before starting installation.
Getting your Honeywell thermostat working again doesn’t have to be complicated. With the right approach, most problems are easy to solve. And if not, help is just a call or click away. A well-maintained thermostat will keep your home comfortable for years to come.